
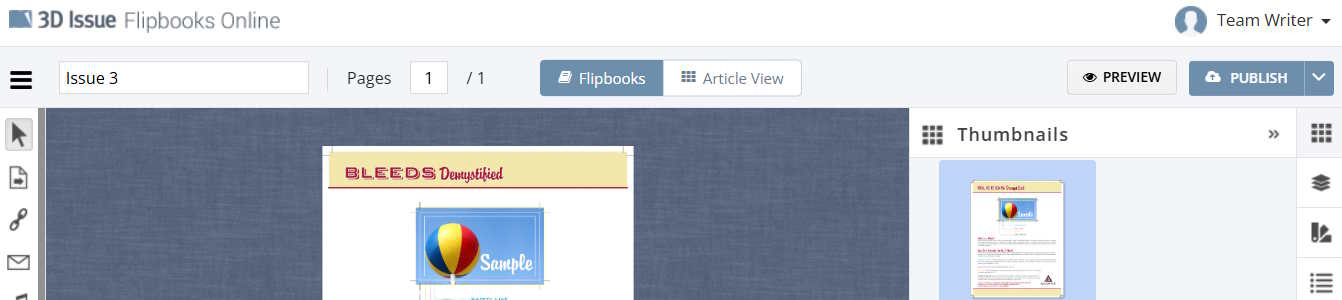
Creating a responsive publication to accompany your flipbook is as easy as selecting ‘Article View’ from the toggle switch immediately above the Flipbooks canvas.
Your responsive publication will begin to become editable once Flow has processed the first three pages. While Flow will create a “best-guess” layout using the content from your Flipbook, you may find that it is necessary to make changes. The following article will outline how to work with your Flow publication.
Uploading Your PDF
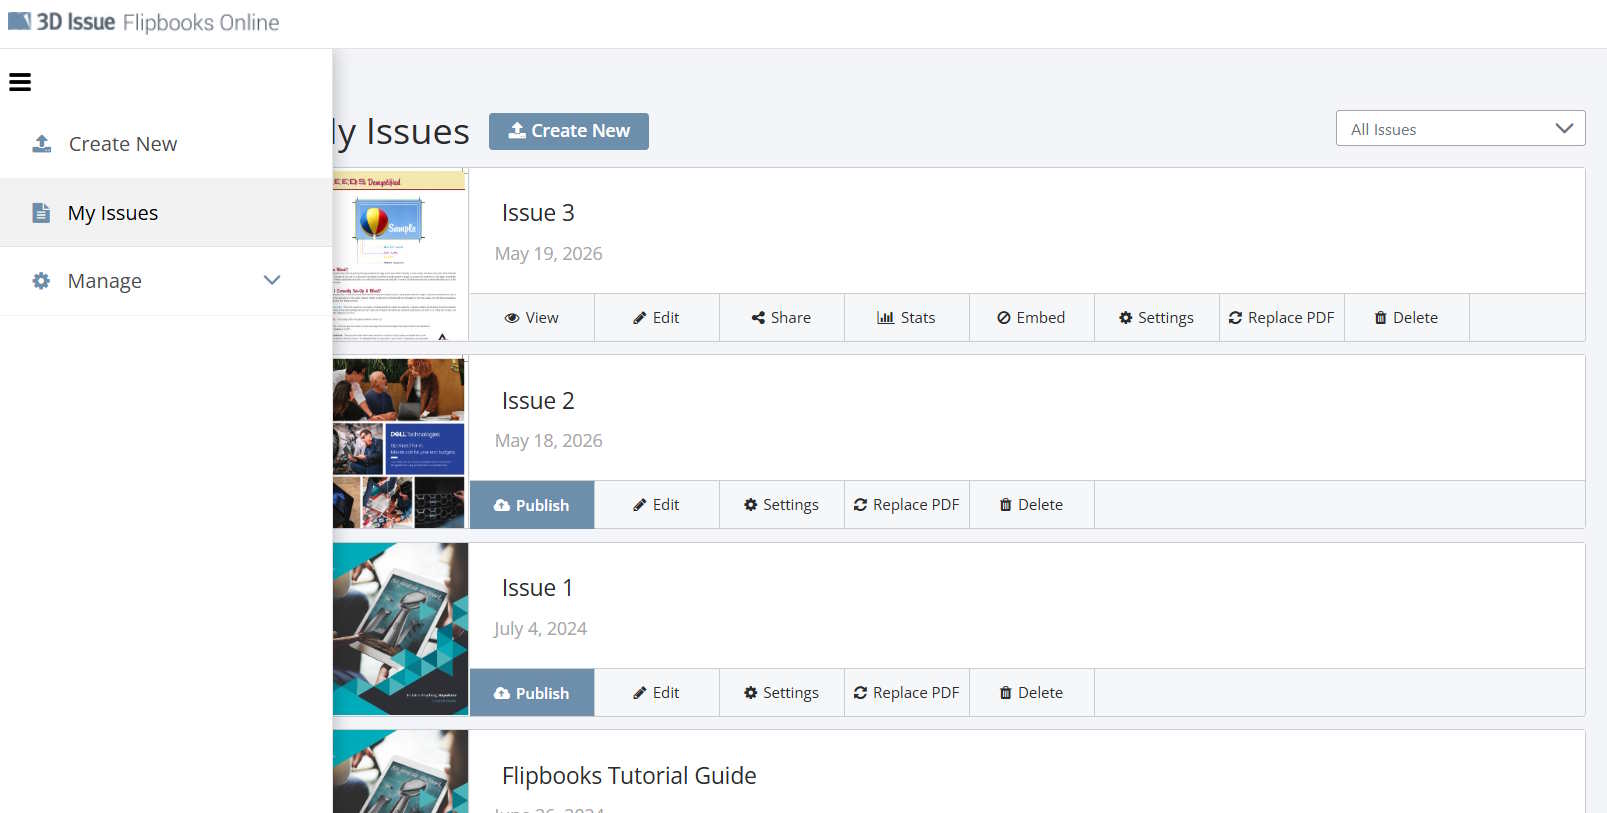
From the Flipbooks Online dashboard, click on ‘Create New’ above the issues list, or from the slide-out side menu, and select a pdf to upload. Once Flipbooks Online has processed your pdf, you will be brought to the editor. From here, you can edit the Flipbook version of your publication if required.
Enabling Flow
You can enable Flow before or after editing your Flipbook version by selecting ‘Article View’ from the toggle switch towards the top of the canvas. Once selected, Flow will immediately begin processing the pages of your pdf. You will have edit access to the first three pages once they have been fully-processed, and subsequent pages as and when they become ready.
Reviewing the Initial Flow Output
After the initial processing, Flow will have arranged the content from your original pdf into a scrollable single-column layout, using the original page layout as a guide. As pages finish processing, each will become available to view and edit on the canvas.
You can find out more about editing a Flow publication using the 3D Issue Studio editor by clicking here.
Editing Text Content
Flow will, where possible, extract text from images embedded in your pdf. On occasion, and depending on the quality of the image, this process may be less than 100% accurate. If this is the case, you can edit text elements by clicking on them in the canvas to open the text toolbar. The text toolbar provides the usual WYSIWYG controls you would expect from a text editor, including formatting, line height, etc.

On other occasions, you may need to change the size of text elements. This is best done using the Style panel to the left-hand side of the screen. The font size for each of the text-based elements can be set globally using the Font Size Coefficient. The Font Size Coefficient is used along with the text toolbar font size to determine the final size of font in any given piece of text, so use the FSC first, and then make more granular changes using the text toolbar.
You can find out more about editing text elements by clicking here.
Editing Images
Should you need to edit any images in your Flow document, they can be clicked on to open their properties panel. From here, you can apply margins, adjust their framing or edit other properties such as size or opacity.
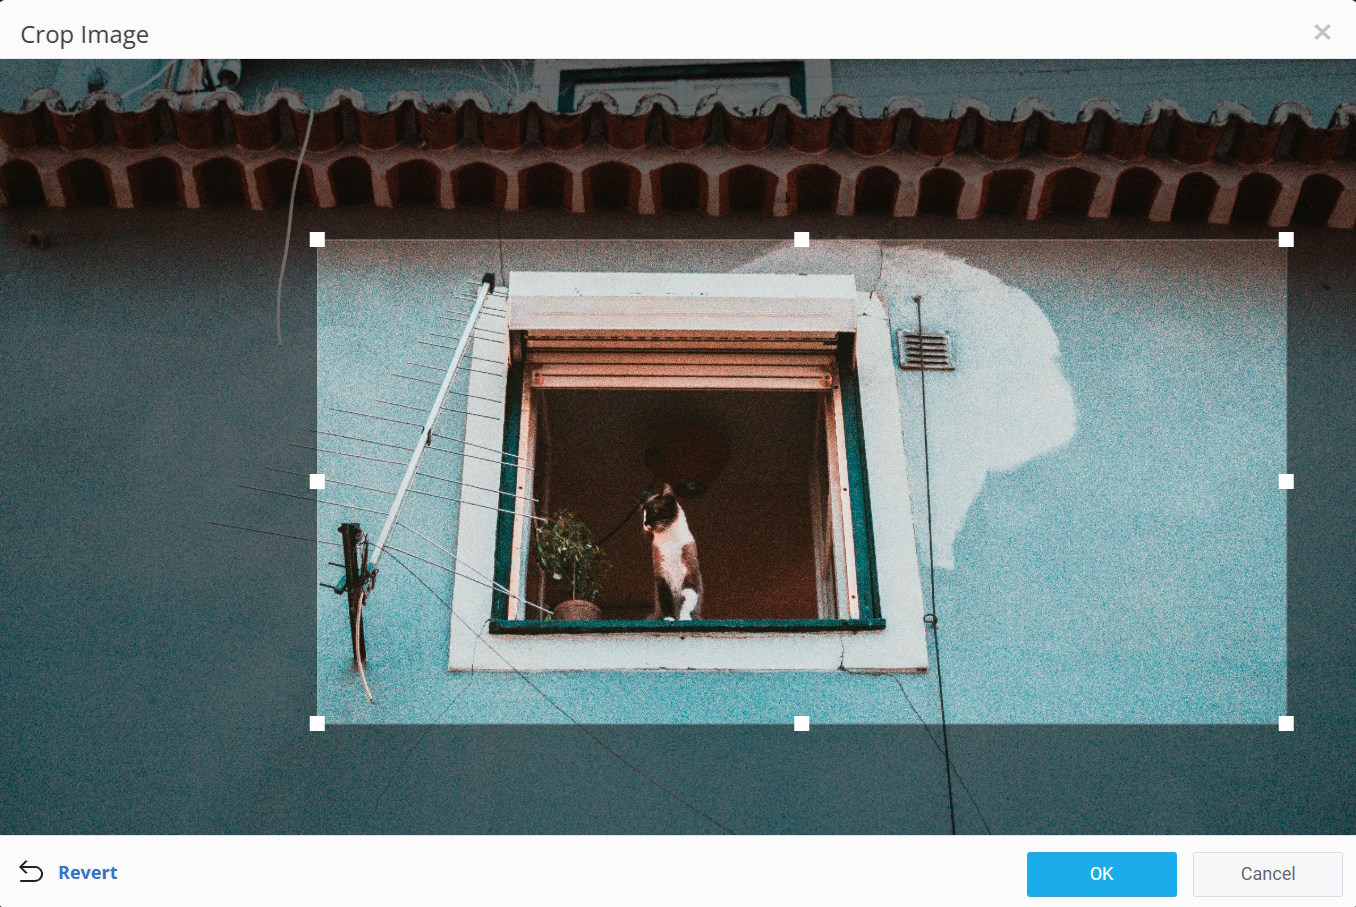
If Flow has captured empty space around your image, or if you just want to crop it for optimal display, clicking on the image and then clicking on the crop tool in the Image tab (you may have to click on the three dots on the right of the tab to expand it first). From here, you can adjust the image boundaries before clicking ‘OK’ to update the image to its cropped version.
You can find out more about working with images by clicking here.
Manually Extracting Images
If you need to, you can manually extract images from your pdf file. To do so, select the page from which you would like to extract an image and click on the ‘edit crop areas’ icon to the top right of the canvas (second icon from the left).
Once the crop window has opened, select the relevant area(s) of the page, and click ‘Submit’. This will save the cropped area into your Media Library. By checking the checkbox, it will also add the cropped area to your page. You can select multiple areas to crop from a page by holding down shift or control while making selections.
Adding Elements
You aren’t restricted to the content that already exists when you import your document. You can introduce new elements to the Flow version of your publication by dragging the desired element type from the Content panel into position on the canvas.
You can find out more about working with elements by clicking here.
Deleting Elements
Elements can be deleted from the Flow version of your publication (without removing them from the flipbook) by clicking on the trashcan icon from the element’s tab.

Rows and Columns
When Flow processes an imported document, it creates a single-column layout. This layout is divided into individual rows and columns, which are represented on the canvas by green and red outlines and labels. You can add more rows and columns to achieve more complex layouts, if required.
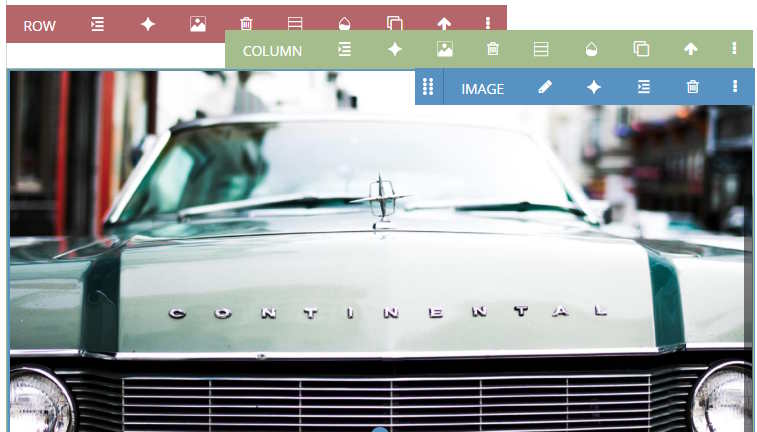
You can learn more about rows and columns by clicking here.
Publishing Your Flow Document
Once you are satisfied with your publication, click ‘Publish’ at the top-right of your screen to publish both the flipbook and Flow version of your publication. After a short wait, a dialog will appear with a ‘View Online’ button so you can see your publication. When viewing, you can switch between the flipbook and Flow versions by clicking on the icon at the bottom-left of your screen.