Elements are the individual components that make up your Studio project’s Pages. Examples of elements include text, images, buttons and videos. The full range of elements available when building a Studio project can be found in the ‘Add Content’ Control Column.
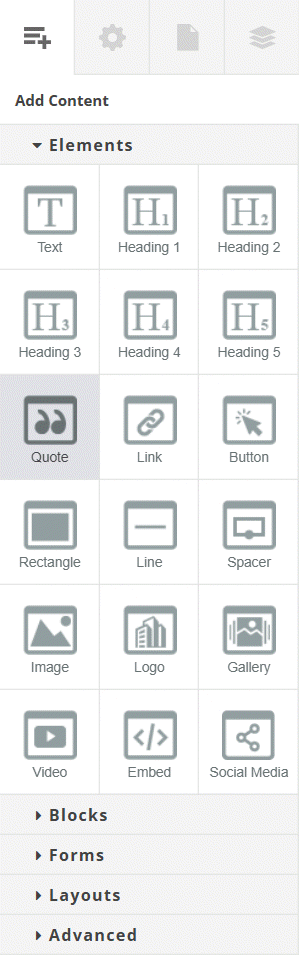
Elements can be added to a page in one of two ways:
- Click on an element to add that element to the end of the current page.
- Drag an element to the Canvas to place it in a particular location. When dragging, a black line will appear on the Canvas to indicate where the element will be placed when you release the mouse button. In the example below, a Button Element is being dragged to the canvas, and will be placed underneath the block of text, as indicated by the black line.
Once your have added an element to the canvas, via either method, it can be repositioned using the grip on the element label. You can also delete an element by clicking on the Trash Can icon to the far right of the Element Label.
Element Labels
Once an Element is on the canvas, you will notice that if you hover your cursor over the Element, a label displaying the Element type, as well as a series of icons, will appear above the element. These labels are color-coded to indicate the Element type to which they relate:
- Row – Red
- Column – Green
- Element – Blue
Depending on the particular element, the label will contain different icons relating to that element’s properties. For example, in the case of the Button Element, the Label will contain the following (left to right):

- Handle – Click and drag on this to reposition an element on the Canvas
- Element Type
- Edit Link – Used to define what the button should link to
- Indentation – Allows you to define margins and padding on the element (more on these later)
- Duplicate – Creates a copy of the Element immediately underneath
- Trash Can – Deletes the Element
In addition, if an Element has had a background image applied, an image icon will be present on the label to allow quick access to the Element’s background properties.
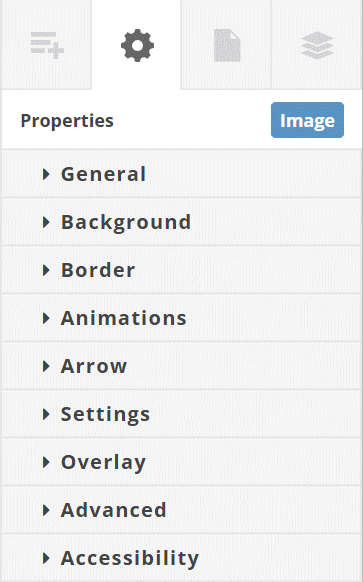
Element Properties
Each element in a Studio project has a number of associated Properties. Some properties are universal across element types, with others applying only to certain elements.
Properties are accessed by selecting an element on the canvas, and then clicking on the Properties Control Column. If you open the Properties Control Column without having selected an element, it will prompt you to do so in order to begin editing.
Once an Element is selected, it will remain highlighted on the Canvas, and a label indicating the element type will appear at the top of the Properties Control Column. Properties are divided into groups so you can easily find those that you wish to edit. The following image shows the groups of Properties available when an Image Element has been selected on the Canvas.