Blocks are comprised of a set of elements which have been designed into a section of a page. They are available for use by expanding the Blocks section of the Add Content Control Column.
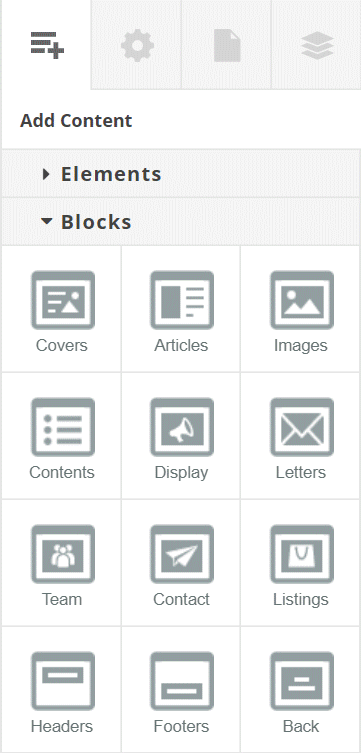
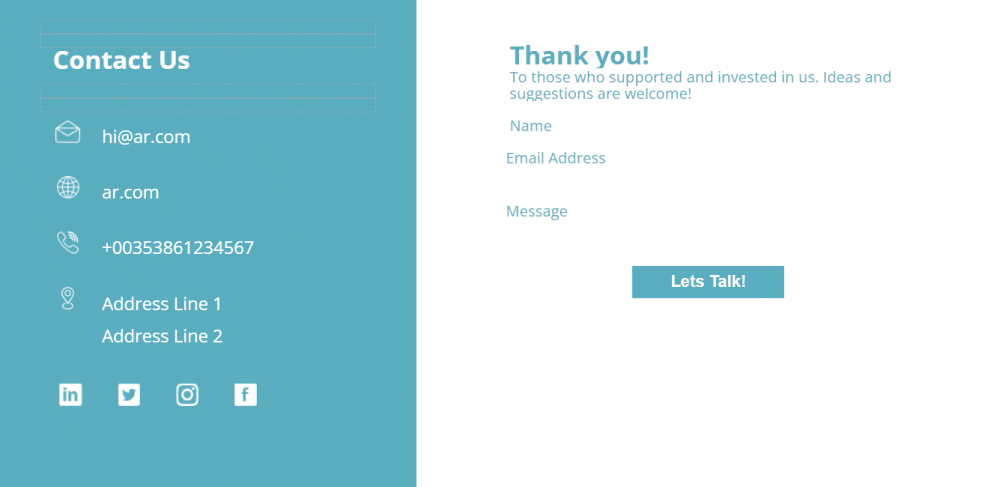
For example, a Team Block will contain a layout suitable for displaying photos and short bios for a group of people, whereas a Contact Block might have some or all of social media links, physical address, email address, phone number and/or a contact form.
Blocks allow you to quickly shape your Studio pages. You can use Blocks as they come, or you can edit them using Element Properties after placing the Block on the Canvas.
To add a block to a page:
- Click on a Block type in the Add Content Control Column. This will open the Block Library.
- Choose whether to add your new Block to the start or the end of your page using the drop-down menu.
- Click on the Block that you want to use, and then on OK.
When a Block is added to a page, it will be contained within a Row. Blocks can be repositioned on the page by clicking and dragging this Row from within the Structure Control Column.
Custom Blocks
You can create and store your own custom Blocks, which can be used later in the same way as Studio’s predefined blocks.
To create a custom Block, first create the block that you wish to save on the Canvas in the Experios editor by adding and laying out the Elements you require for your Block. Once you are happy with this, click on the Save icon on the label of the outermost Row of your Block. This will open the Save As Block panel, prompting you to add a name for your newly-created Block, and to add it to a category.
Once you have saved your Block, you can access it later from the Blocks section of the Add Content Control Column, just as you would any other block.