When you purchase 3D Issue Desktop, you receive a template within the software. You can purchase additional templates by contacting sales@3dissue.com.
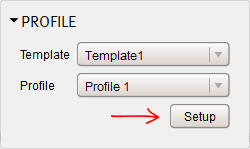
To setup your template, launch the software and choose either Create New Issue or Open Existing on the welcome screen. You will be taken to the Content screen. Under the Profile section, you will see two options called Template and Profile, along with a Setup button.
By default you will only have one template (unless you purchased additional templates), so the entire template drop down will be disabled. The same will apply for the profile drop down option. However, unlike templates, you can add as many different profiles as you like, at no additional cost.
If you have more than one template, you would select the template you wish to customize from the drop down list.
To get started, click on the Setup button (as shown below):
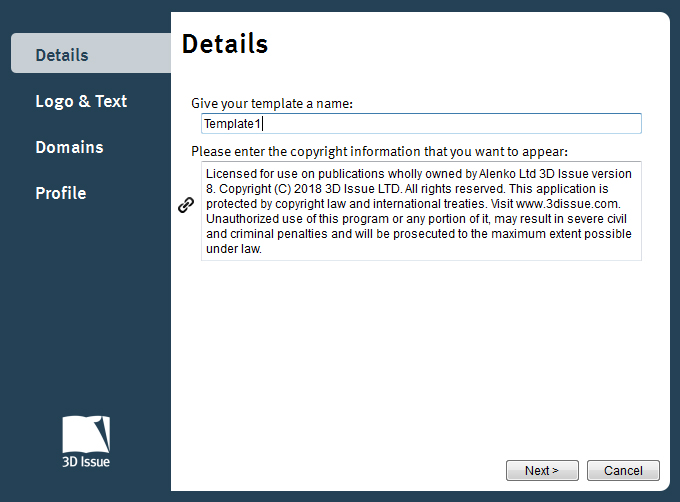
This will then launch the Setup Wizard. The first section you will see is called Details. Here you can name your template and enter your own copyright information. After you have done this, click Next.
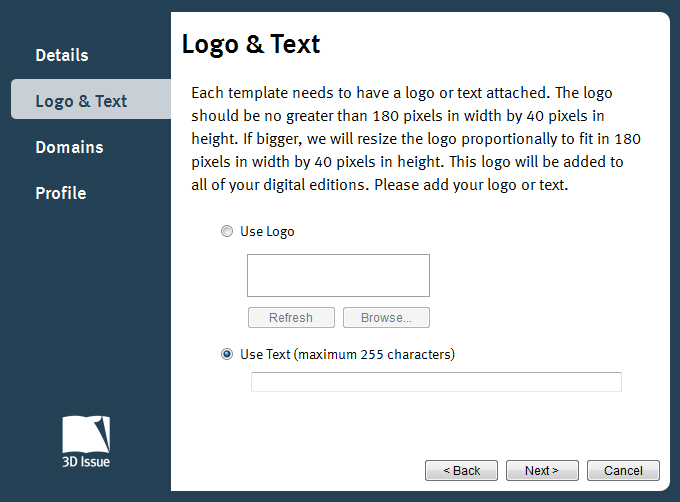
You will then see a section called Logo & Text. Here you can either type in your company name by selecting the Use Text option or you can upload your own logo. After you have done this, please click Next.
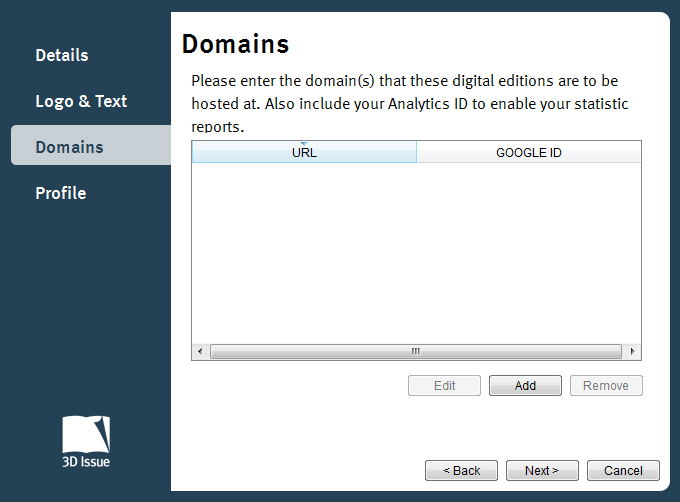
You will then see a screen called Domains. Here you can add the root domain of the website that you will be uploading the Flipbooks too. For example: https://www.website.com/ This can be added by clicking on the Add button. You can also add your Google Analytics account ID here too. After adding domains/IDs, you can edit them by clicking on the domain/ID and then selecting the ‘Edit’ button. You can also delete them by clicking on the Remove button.
If you have Cloud Hosting as part of your package and plan on uploading to there instead of your own website, you can ignore the Domains section completely.
Once you have completed this screen, please click Next.
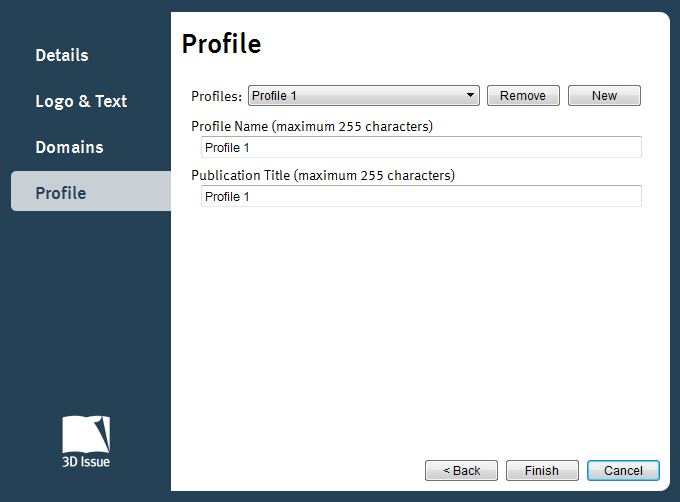
You will then see the final screen of the Setup Wizard called Profile. Here you can add as many profiles as you like. You can also name your profile and you can also name the publication title that appears within the browser tab when you Flipbook is viewed online. Once you have completed this screen, please click Finish and then Exit. This Setup Wizard can be accessed and edited at any stage by yourself by clicking the Setup button within the software.
You will then see the updated template/profiles within the Content screen in the software (Under Profile).