If your PDF contains bleed, registration or crop marks (like the shown in the below image), you can remove these within the software.
To remove them, once you have imported your PDF(s), you will be taken to the Content screen. Under the LAYOUT section, you will see an option called Remove Bleed Click on this text and it will expand some additional options.
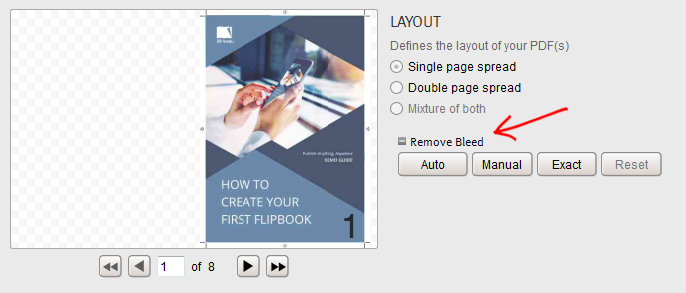
If the Auto button is visible, this will automatically remove the marks for you. This is the best option to choose as it is completely automatic and precise. However, if it is disabled, this may be due to your PDF having marks on only some pages and none on others. If this is the case, you can choose between the Manual and Exact options.
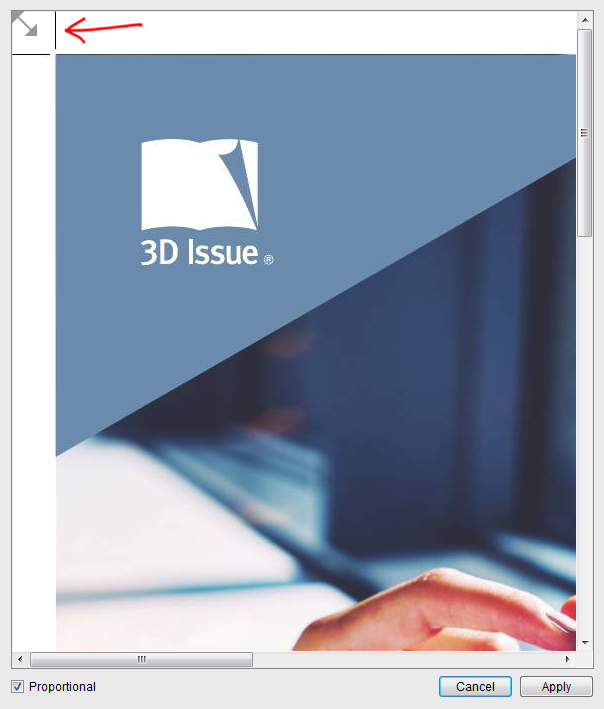
The manual option will display a popup window which will allow you to drag the grey arrow to the appropriate position, ensuring that the marks are removed. You will only have to do this the once, as the Proportional option is checked by default. This ensures that it is applied to all corners of the page. Once you are happy with your cropping, click Apply.
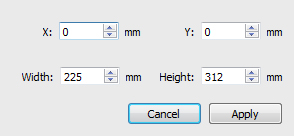
The last option, Exact will also show a popup window. This will allow you to enter the exact measurements that you wish the software to crop. Once you have done so, click Apply.
If you have made a mistake or wish to change the applied settings, do not worry, as there is a Reset option next to the other 3 buttons.