To allow manual uploading of Flipbooks, our software exports the Flipbook project folder locally which you or your webmaster can then upload to your server.
Follow the steps below to manually upload your publications to your own server.
Build the Flipbook
- Import your PDF into the software
- In the ‘Design’ tab, make the necessary edits and add the features you want for your publication.
- When you are ready to publish, go to the Output tab and make sure Online is ticked and Upload is not ticked.
- Click Build and when finished save and exit the software.
- Locate your newly published project folder and send it to whoever will be uploading the folder to your server using a file sharing service like DropBox, Google Drive, or WeTransfer.
- You may need to add your domain into your domains list (CONTENT -> Profile -> Setup -> Domains) as seen below.
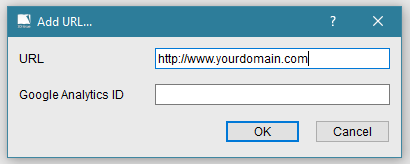
- Click Add.
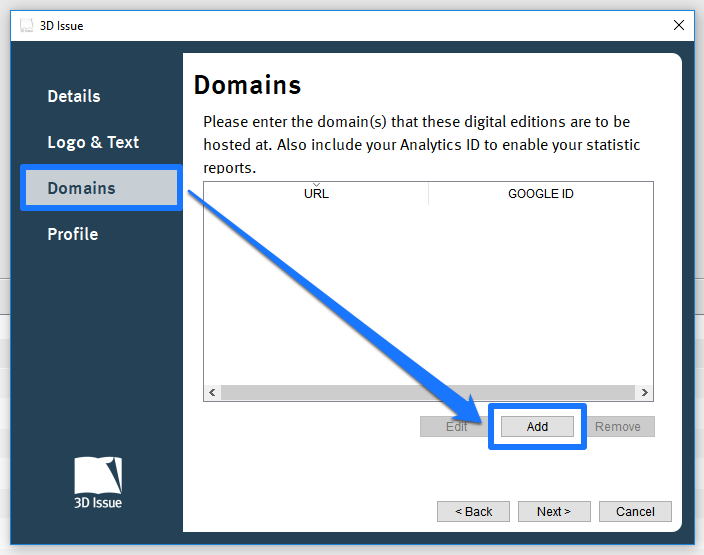
- Enter the domain where the flipbook will be hosted at.
Upload
- Remove the ‘Do Not Upload’ folder (keep this at a safe location) from the project folder they receive from you.
- Open their FTP software (for example, Filezilla) and connect to your website.
- Drag and drop the whole project folder to your website to upload.
- Once uploaded they can place the ‘Do Not Upload’ folder back into the project folder.
Alternatively, you can upload your digital publications to your own server with our built-in FTP client in the software, you can find more information on how to do this at the link below. Learn more here.