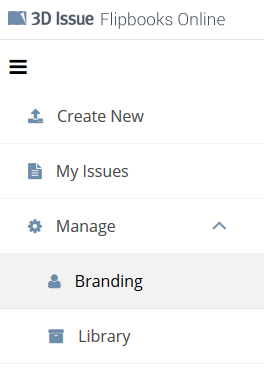
You can access the side menu at any time when logged in to Flipbooks Online. Let’s explore what each of the options does in more detail below.
Create New
Use this option to begin creating a new Flipbook. You will be prompted to add a PDF file from your computer in order to begin.
My Issues
Brings you back to your Flipbooks Online dashboard.
Manage
- Branding
In this section, you can specify your Brand settings. With a Pro license, you will be provided with a single Brand and it’s designed to represent your company’s publications. Therefore, if you need to create Flipbooks for multiple clients you would need to purchase additional Brands from us. Alternatively, you can opt for the Enterprise license which gives you access to 3 separate brands.In the Branding section, you will be able to specify the Brand name, copyright text, and your company’s logo image. You can also name your Publication – this is the title that your Flipbooks will fall under in your library file. “New York Times” would be an example Publication Name. At the bottom, you will also find a “Translations” option. Use this feature to translate the Flipbook user interface to a custom language if that’s needed. Lastly, the “Advanced” section can be used to mask the default “cloud.3dissue.net” domain name that’s visible in your Flipbooks’ URLs. We would recommend reading the following article to find out more on how to mask the domain: Domain Masking - Library
Go to this section to view your current library of online Flipbooks. You will be able to see the title, link, date and version number for each Flipbook. Additionally, you’ll also be able to control whether or not to display the Flipbooks in your library.