Basic User Login:
- After uploading your PDF, click Edit from the options under your new Flipbook in the issue list to enter the Editor View.
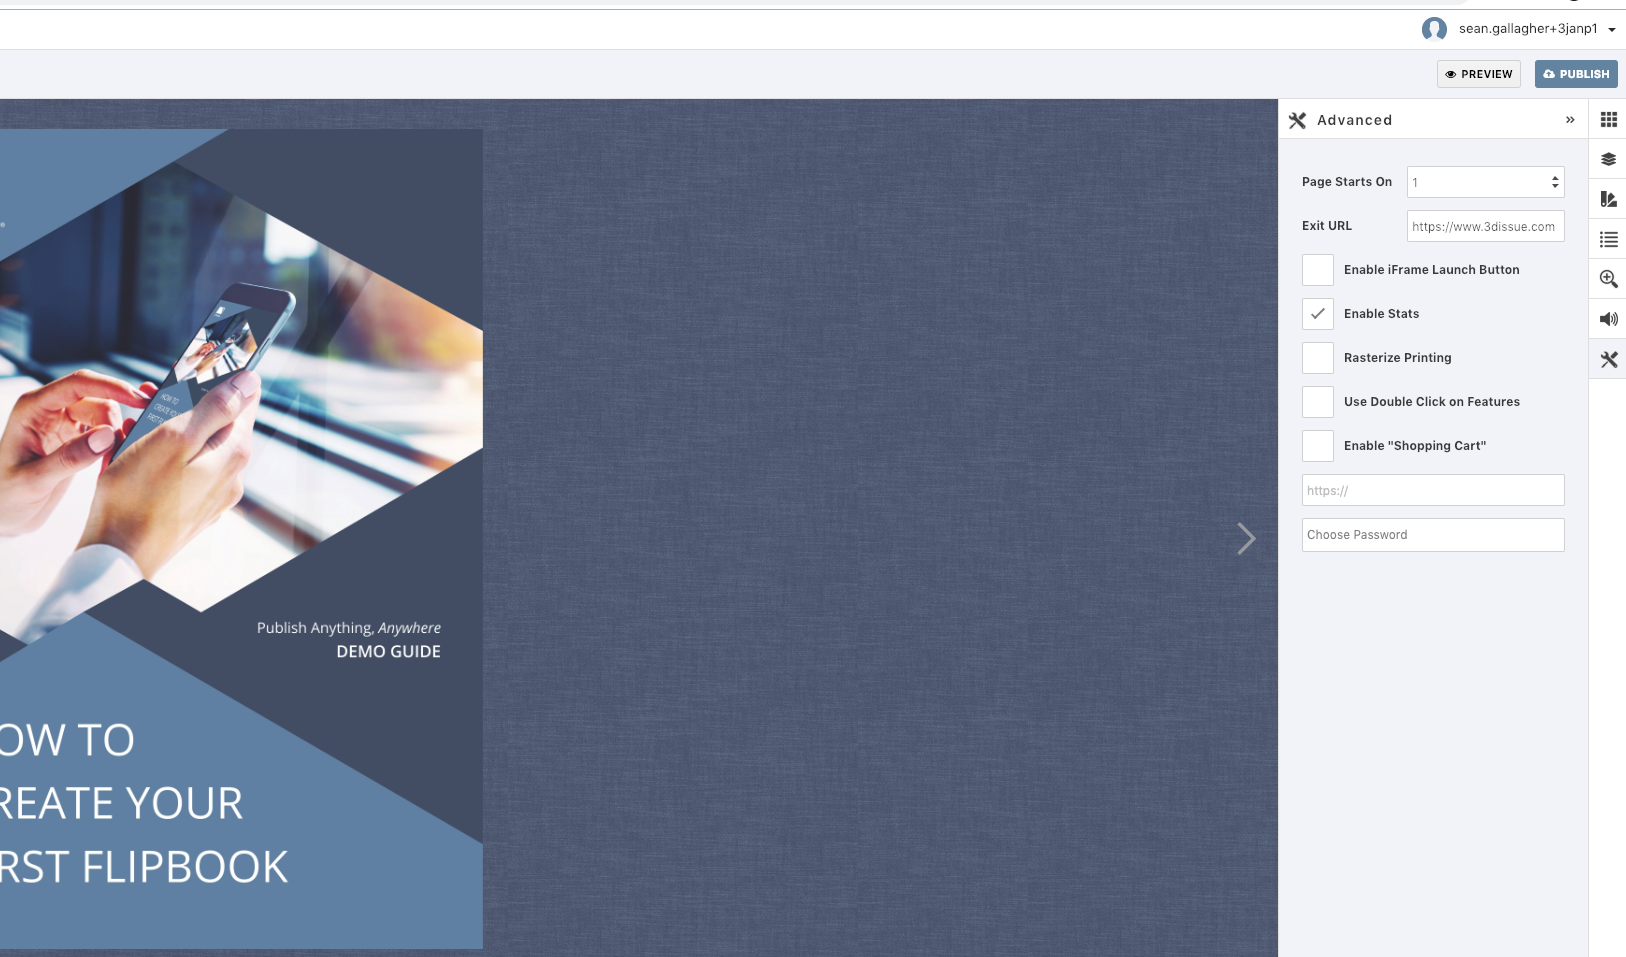
- Under Advanced Panel, on the right-hand side of the screen, add a password in the Choose Password field.
- Click Publish and to publish and View your Flipbook.
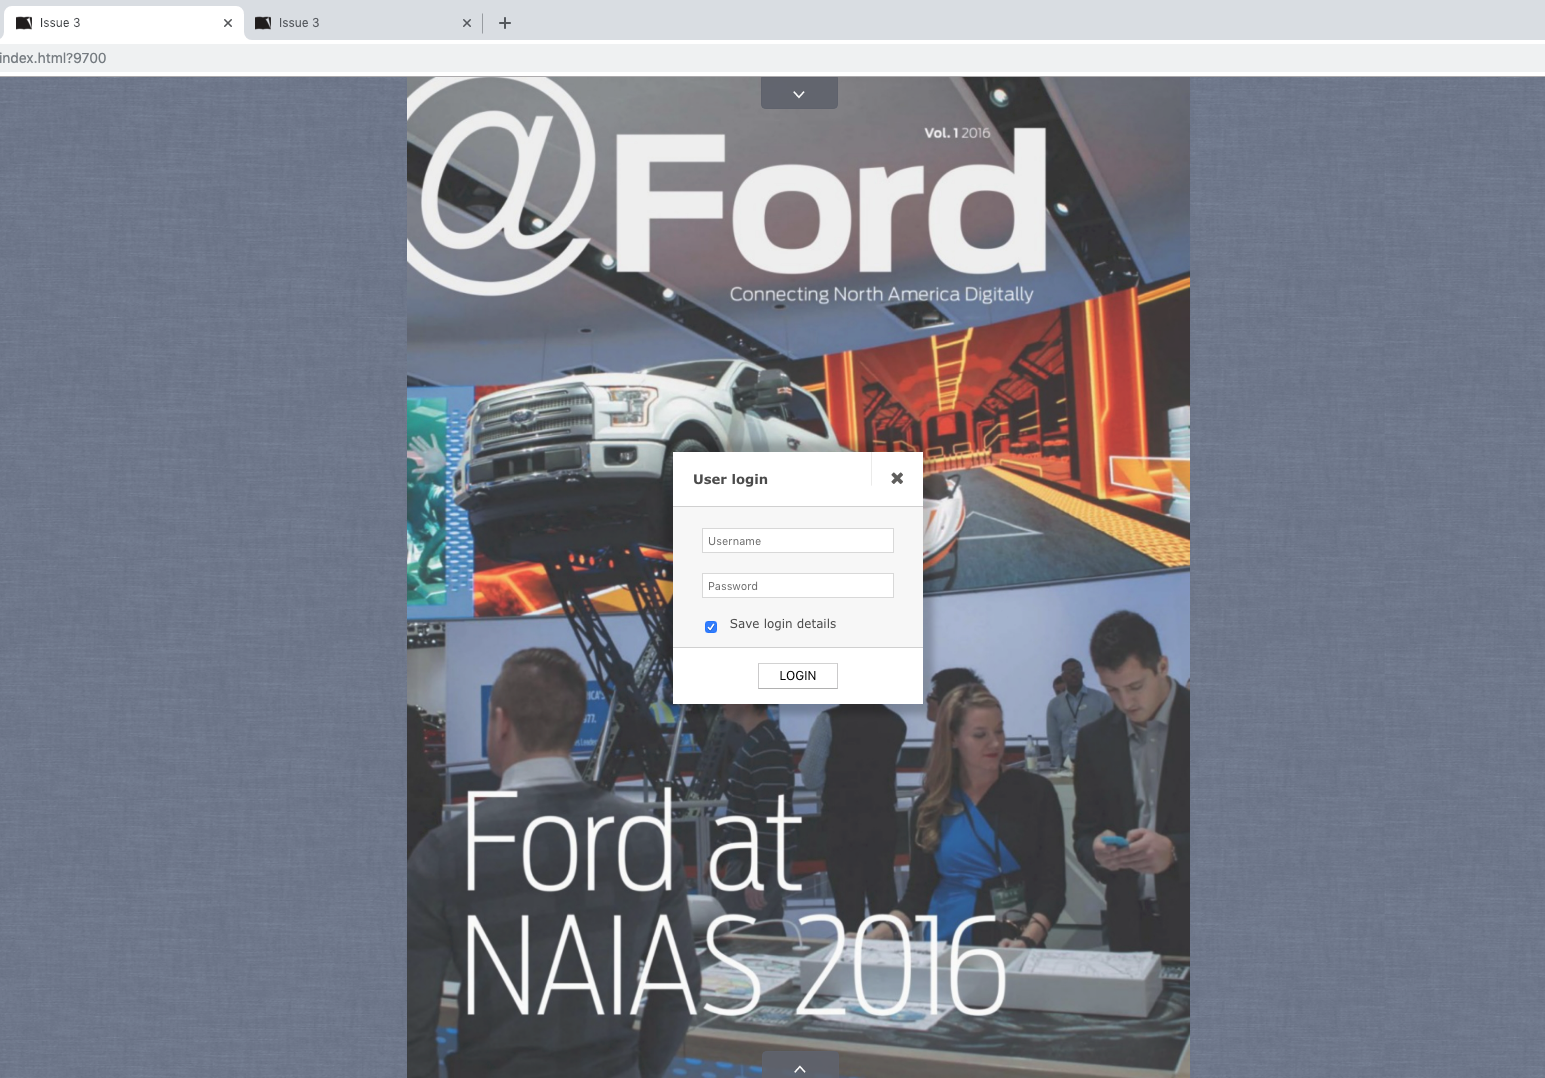
- A Password is now required to view the issue as soon as it loads in the browser.
Custom User Login:
Flipbooks Online Custom User Login allows our clients to implement secure login on their Flipbooks by integrating with their existing login system.
How does it work?
This service works by the use of a REST request to your system. When a user attempts to login on one of your Flipbooks, our system performs a request to your system asking to validate the user.
What do you need, to enable Custom User Login?
The customer will need to develop a custom rest web service that corresponds to requirements as laid out by 3D Issue.
The web service will need to accept 4 parameters;
- userName
- password
- publicationURL
- issueName
The userName and password are the credentials that will be entered by the user when prompted from the user login.
An example of a request to this web service would look something like;
https://api.mydomain.com/login?userName=jeff&password=supersecrectpassword123&publicationURL=https://cloud.3dissue.net/1/1/1/1234/index.html&issueName=1234
Expected Responses
Valid Login
If the login is valid – the rest call should return the response;
{"loginValid":"true"}
Invalid Login
If the login is invalid – the rest call should return the response;
{"loginValid":"false"}
After creating the web service
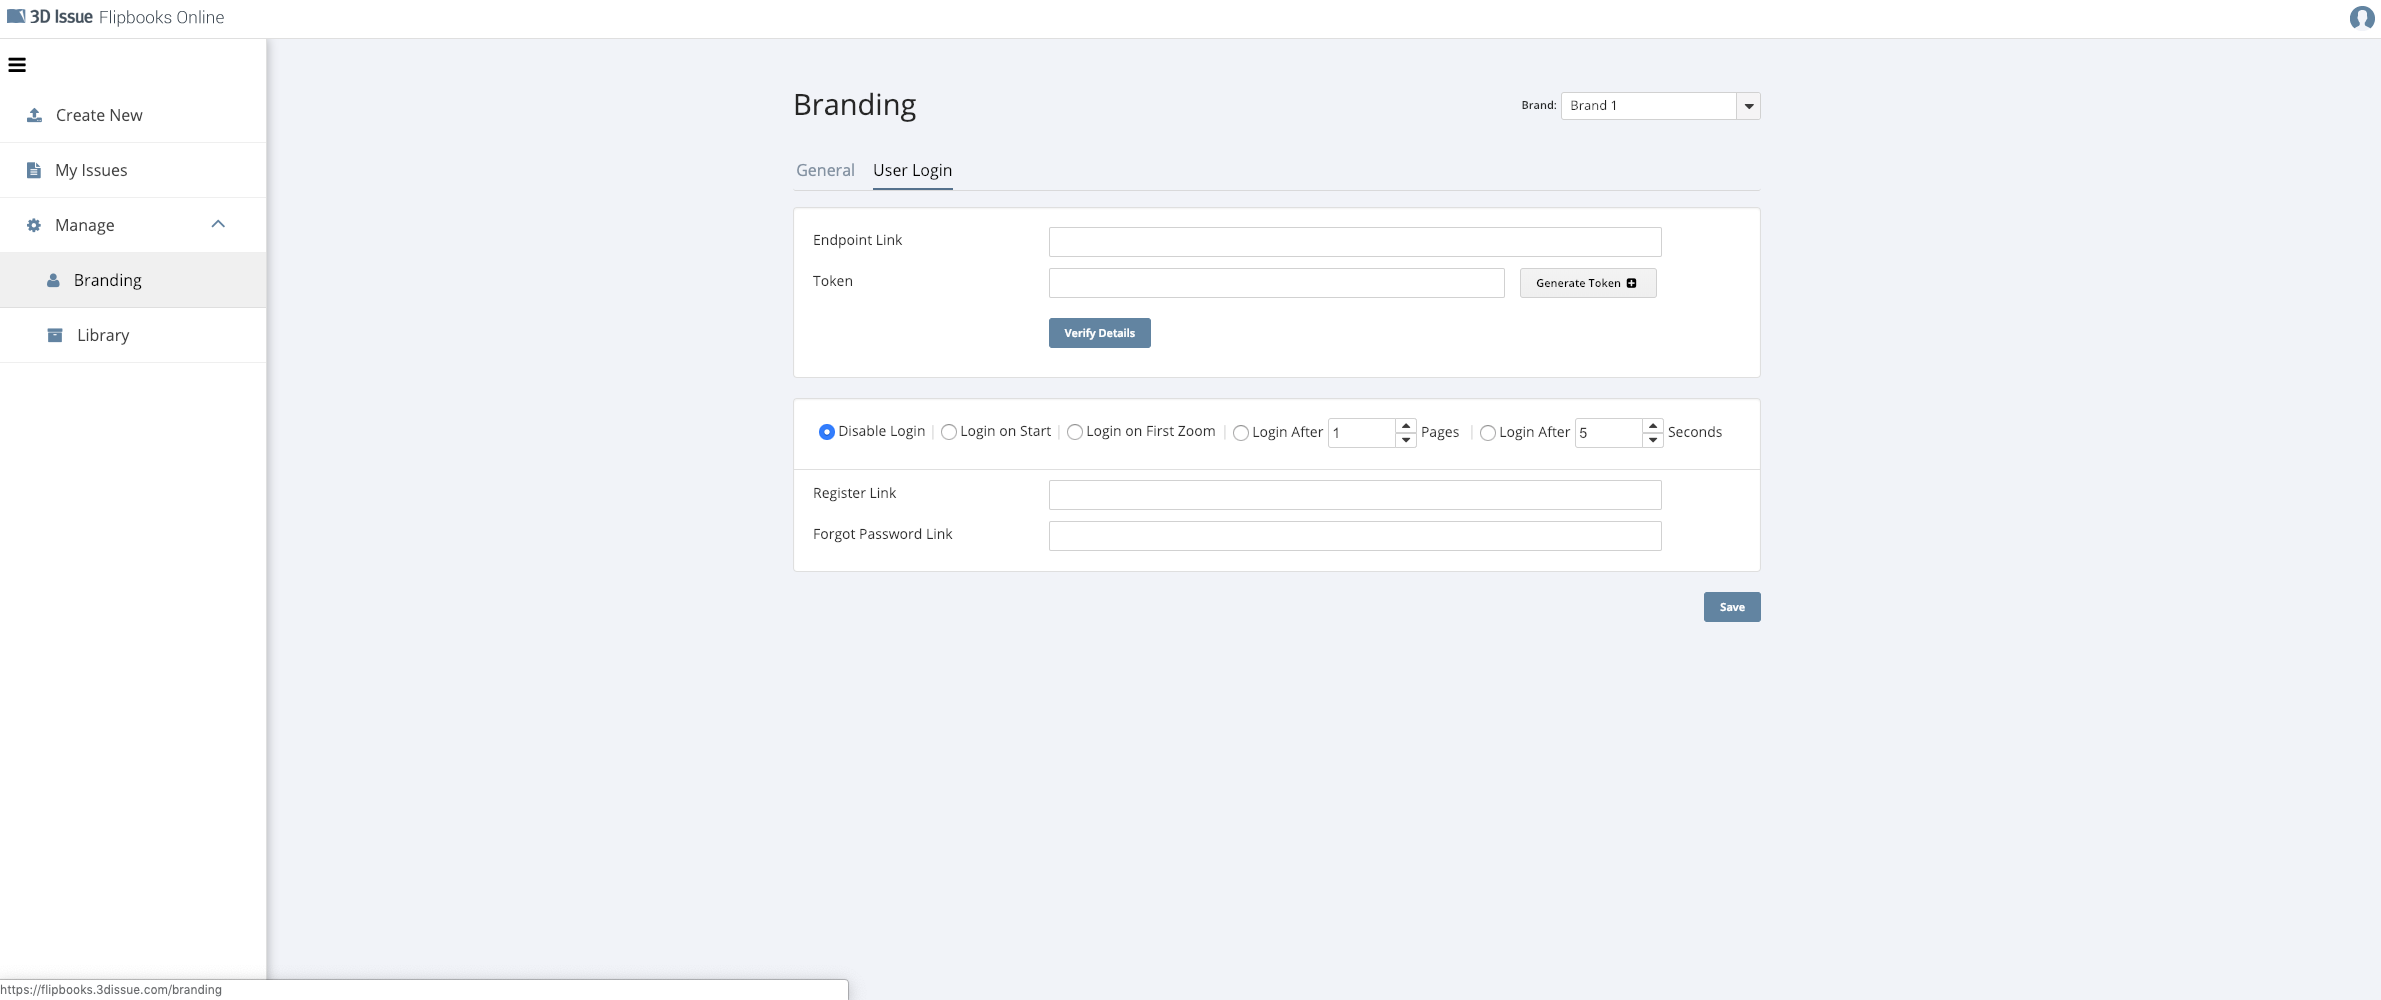
- Go to Branding from the pop-out menu on the left-hand side of the main My Issues screen.
- Click on User Login tab.
- If you have multiple brands, please select the brand you wish to apply User Login to from drop-down menu.
- Add your endpoint link (see instructions above on setting up the endpoint).
- Now either add your own token or generate a token by clicking the Generate Token button. The token is a value that you will use to verify all login requests to your server along with endpoint. Invalid tokens will then be rejected by your server.
- Now click on ‘Verify Details’ button.
- You should see the following ‘Verify User Login’ popup:
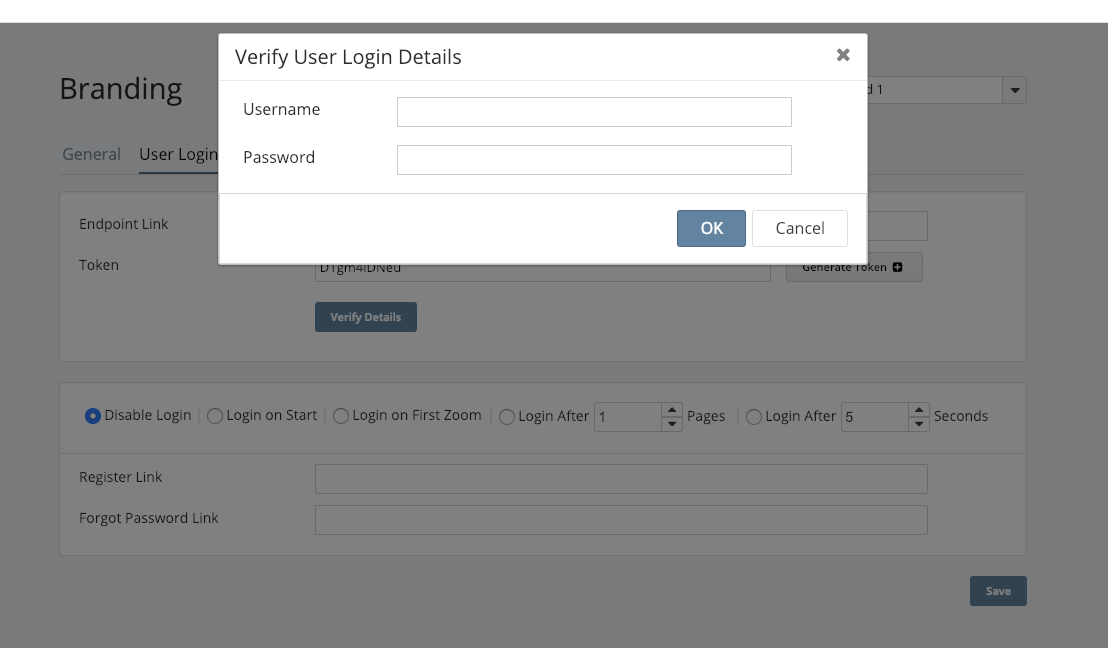
- Enter a username and password and click ‘OK’. If verified, you should see this message:

If not verified, you will see this message:
 If you did not expect the username and password to be rejected, please follow steps 3 to 8 again making sure to check all all values.
The User Login Options:
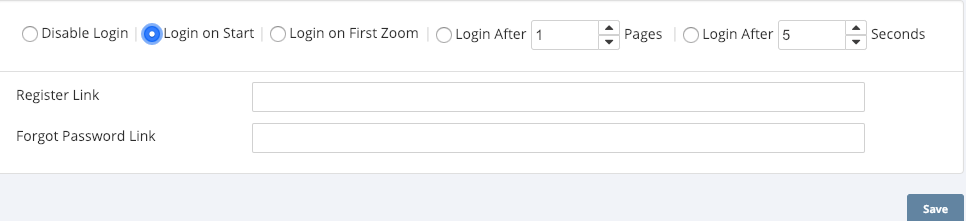
Enable the radio button beside each option (e.g. Login On Start) to set that type of user login option.
A short explanation of these options follows:
- Login On Start – this will cause the published issue to lock as soon as it is loaded, preventing the reader from moving past page 1.
- Login On First Zoom – this will cause the published issue to lock as soon the reader zooms for the first time.
- Login After n pages – here you can set the last page a reader can view before the published issue is locked. Use the up or down arrows to set the last page value.
- Login After n seconds – here you can set a length of time the reader can view the published issue before it is locked. Use the up or down arrows to set the time value in seconds.
- Disable will disable all user logins.
- Optionally you can add Register and Forgot password links. These will appear as buttons on the password popup in the published Flipbook and when clicked will direct user to links you set here. If you do not wish to add these options, please leave these fields empty.
Now click Save to save your User Login settings.
Enabling user login within a Flipbook:
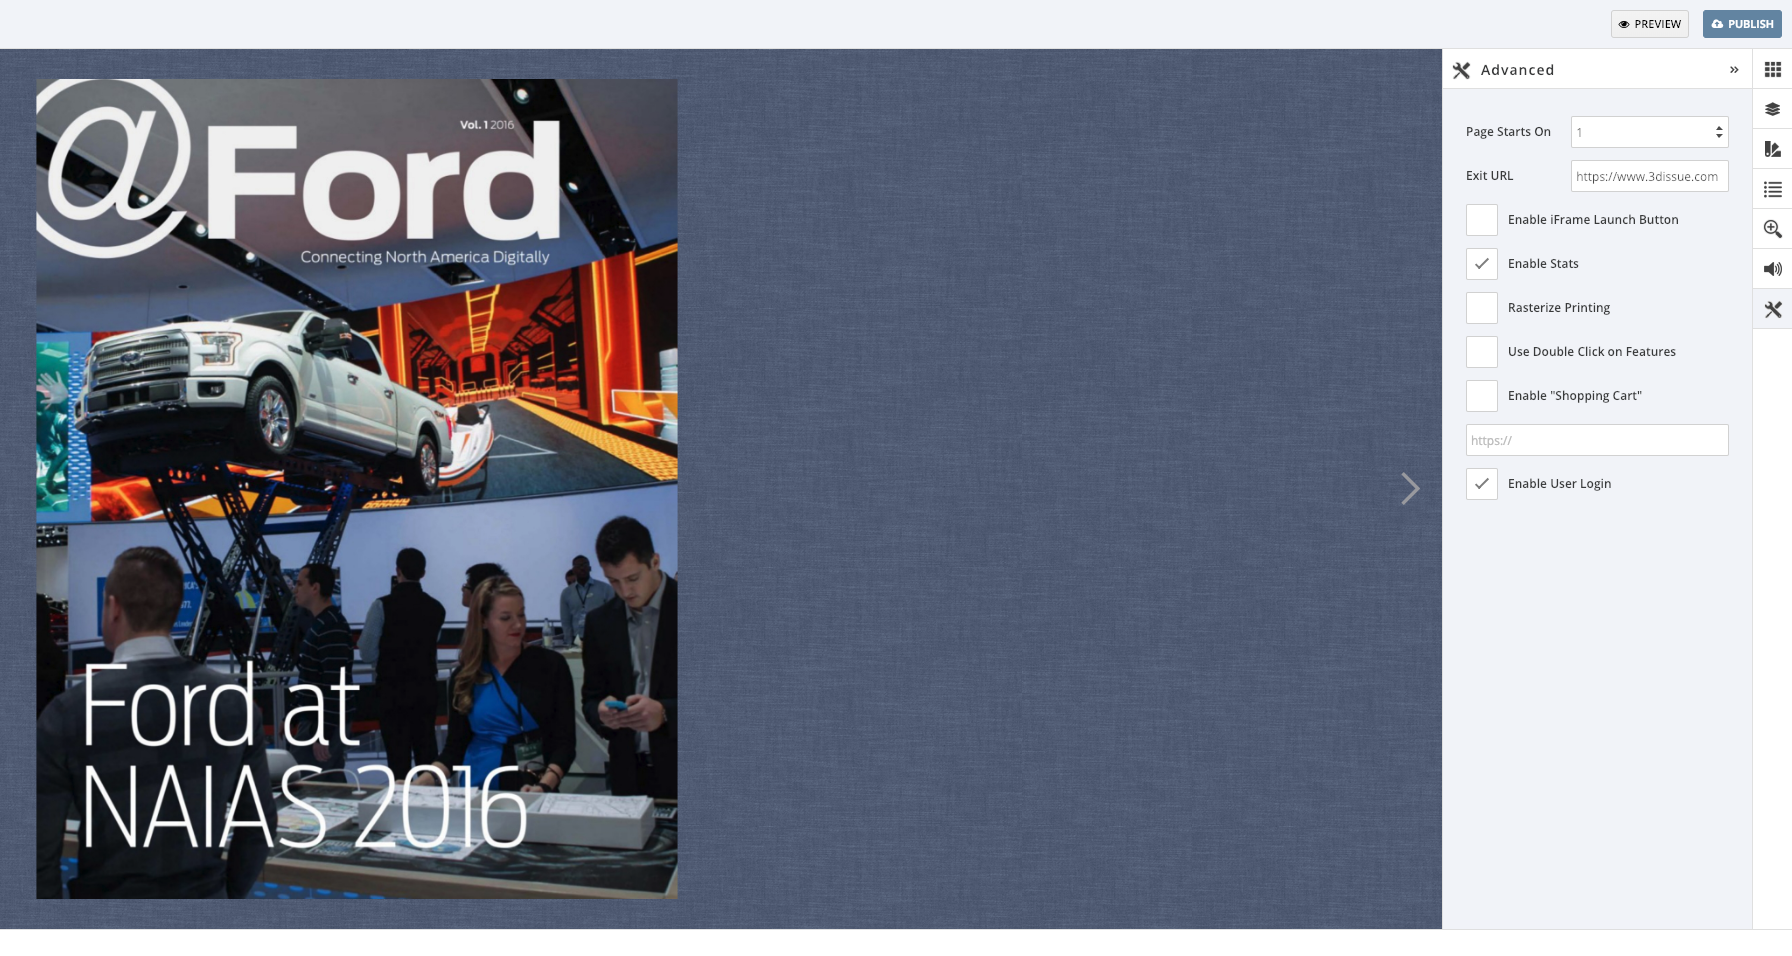
- After setting Customer User Login and uploading your PDF to required brand, click Edit from the options under the current issue in the issue list to enter Editor View.
- Under Advanced Panel on right-hand side of the screen, choose enable Enable User Login option.
- Click Publish and view your published issue.
- The login feature is now applied to the Flipbook.