Welcome to our quick guide on how to publish your first Flipbook with Flipbooks Desktop.
Getting Started
- Get the installer
Signup & download the installer if you have not already done so. - Install the software
Click here if you need guidance installing the desktop software on your PC and Mac. - Start your first project by importing your PDF.
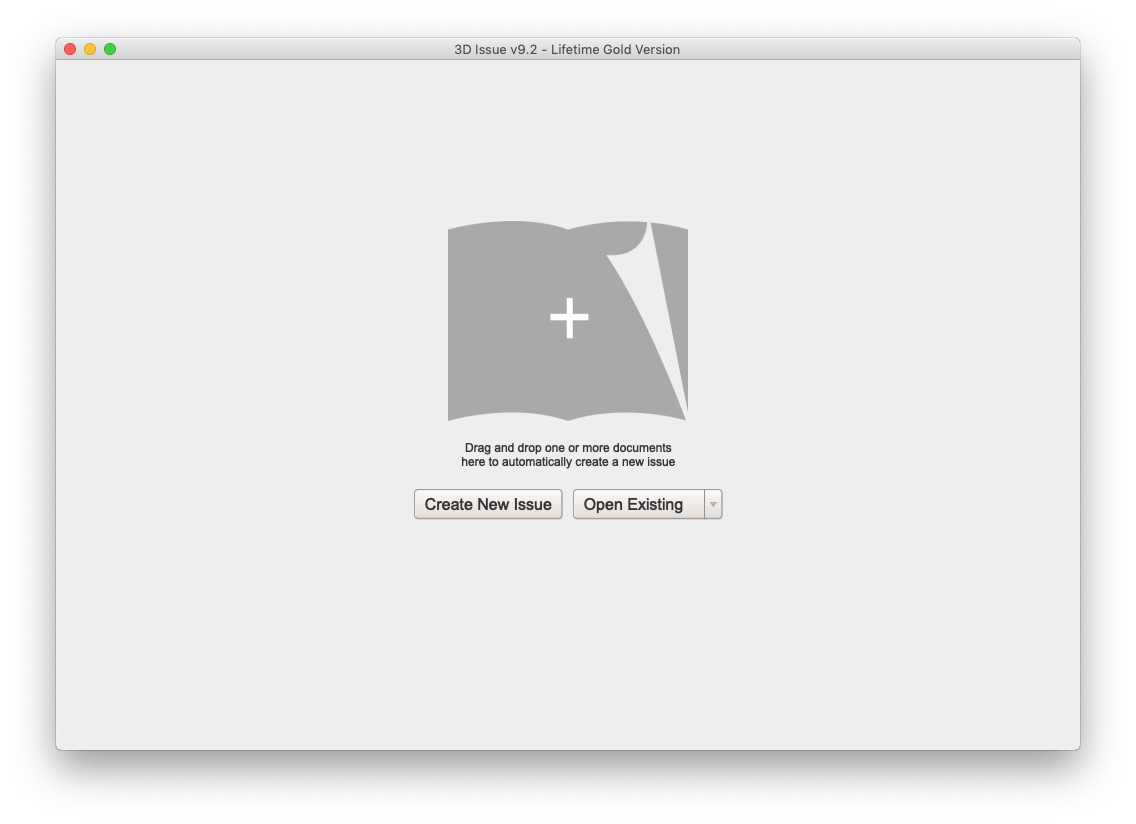
After starting the software you’ll be able to Create a new Flipbook. Click Create New Issue or drag a pdf onto the 3D Issue logo to get started.
The software will import your PDF, depending on the size and content this may take a few minutes.
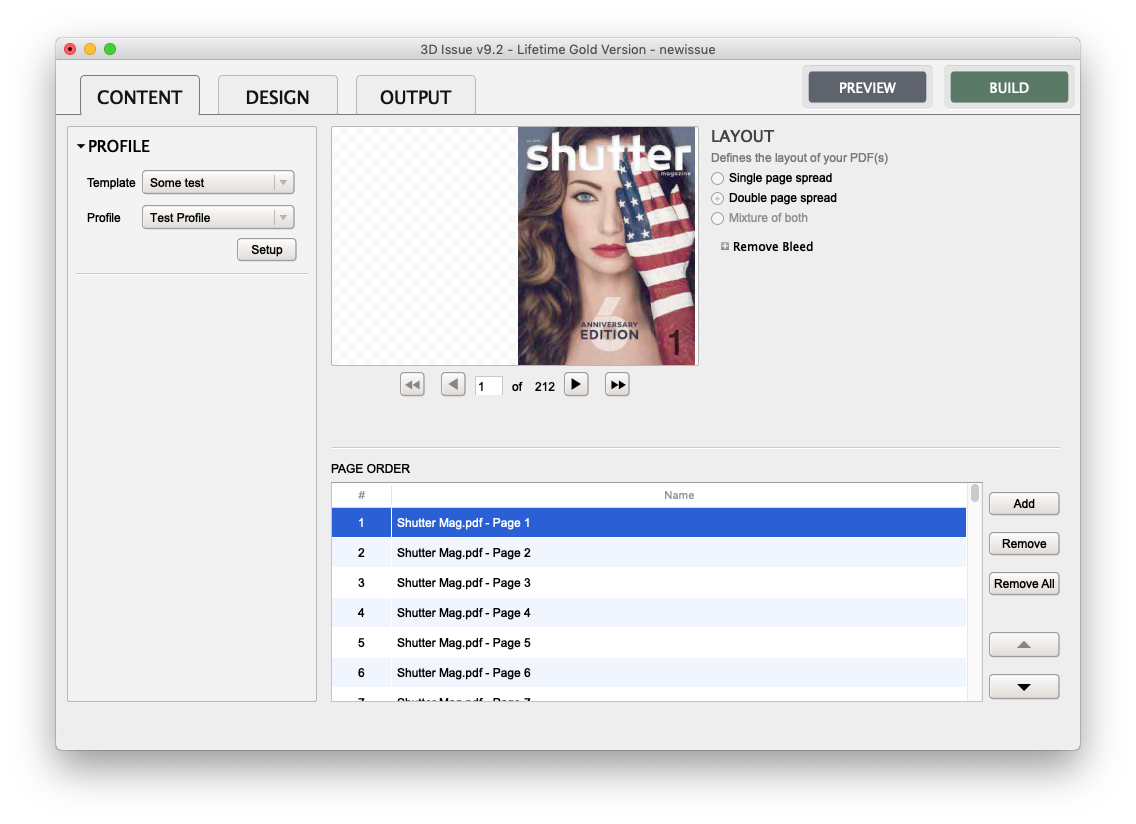
- The Content Tab
The content tab allows you to customise Page ordering, adjust for page bleed and select the SEO Profile and templates you wish to use.
Learn more here.
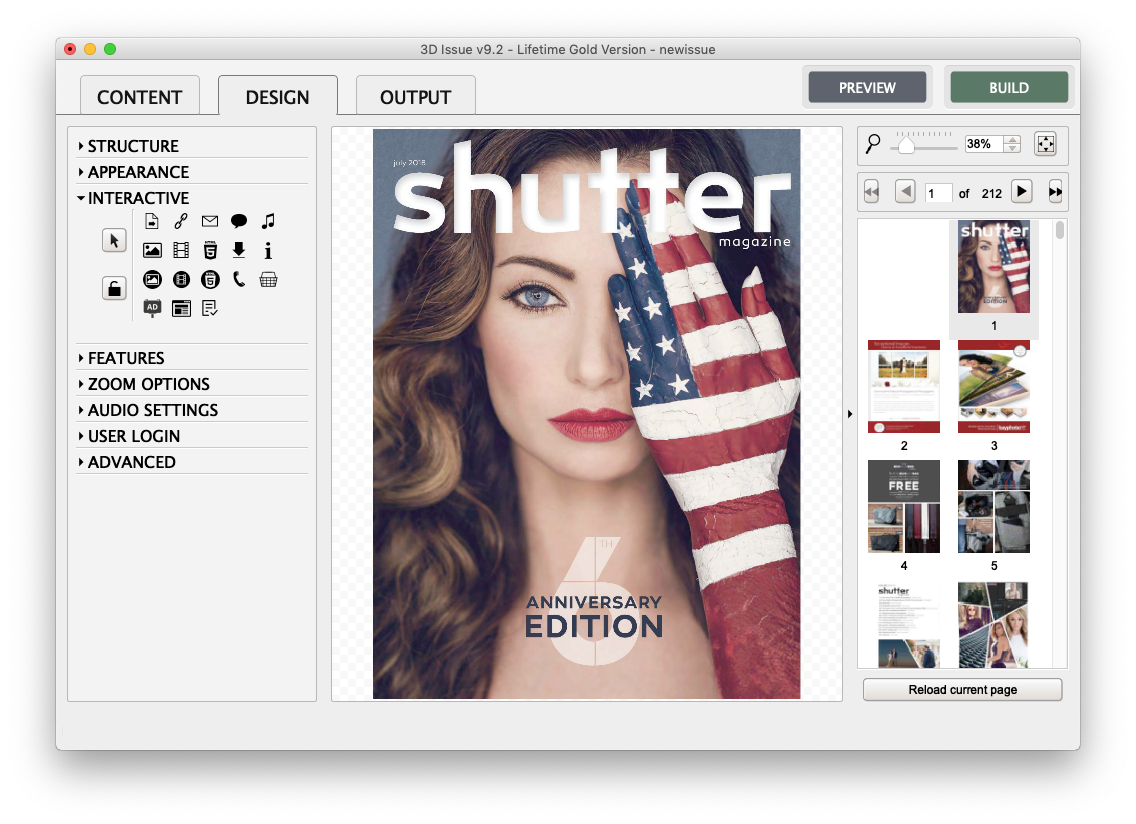
- The Design Tab
The design tab allows you to customise the appearance and structure of your Flipbook, as well as letting you add interactivity to the pages and enabling features such as the Highlighting tool or Search.
Learn more here.
- The Output Tab
The output tab allows you to configure the various output types of the Flipbook and the page quality that your Flipbook will be rendered at.
The Output tab also allows you to configure your Upload settings for FTP or select your 3D Issue Cloud hosting.
Learn more about upload here and Learn more about the output settings here. - Preview or Build
When you’re satisfied with your Flipbook settings you can go ahead and preview your changes with the Preview button (this builds your Flipbook but does not upload it), or Publish your Flipbook to the web with the Build button.
Saving & Uploading
Saving
To save your Flipbook project, without Building, simply go to File > Save in the Top menu.
Uploading
To upload using the built-in FTP uploader follow the steps in our uploading guide here