
You’ll end up with a Studio project published at a public link, with an accessible version to share beside it.
You’ll need
- A PDF you want to turn into a publication (unless you would rather start from a blank canvas).
- A project name you will recognise on the dashboard.
- A Brand. Your account’s default is fine; it applies your fonts, colours, and logos from the start.
- Enough AI credits. The import is charged at one credit per page — a 20-page PDF spends 20 — and the dashboard’s AI Credits meter reads credits used against the month’s total.
Create the project
- From the dashboard, click Studio in the What would you like to create? section.
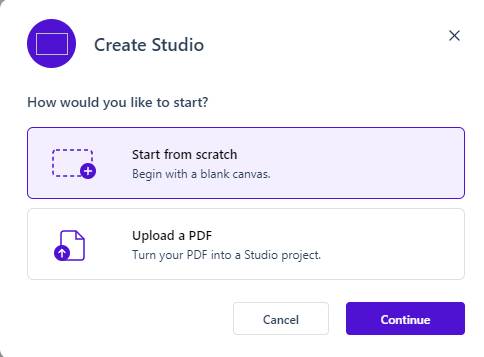
- In the Create Studio dialog, choose Upload a PDF and click Continue. (Start from scratch gives you a blank canvas; the rest of this walkthrough assumes an import.)
- Type a Project Name. The wizard opens on its first of three steps, Upload a PDF: drag your PDF onto the drop zone or click Upload, then click Continue.
Import the pages
- Choose how Studio treats the source: Follow Source Structure keeps each page close to the original within Studio’s design rules, while Follow Suggested Structure reorganises the content into a more web-friendly layout.
- On the page preview, use the eye icons to include or exclude pages, tag page types (cover, letter, article, back), and select pages with Shift or Ctrl (Option on Mac) to Merge Pages.
- Click Create Project. Studio processes the PDF, then opens the editor with the converted content on the Canvas.
Checkpoint: the editor is open and your pages sit on the Canvas as editable text and images rather than a fixed picture of the PDF. That difference is the point of Studio — the conversion is described in Importing a PDF with the AI Import Wizard.
Check both canvases
Converted content has a desktop layout and a mobile layout. Switch the canvas to Mobile and page through: imported pages are where mobile surprises live.
Set structure before styling — give text elements their heading levels and name any rows that will carry anchors. Conversions rarely get these all right on their own.
Preview it
- Click Preview in the top bar, and choose whether to preview from the start or from the current page.
- Page through in Desktop and Mobile.
- Run Preview options → Accessible version to see the project the way assistive technology reads it.
Preview changes nothing and publishes nothing.
Publish it
- Click Publish in the top bar and confirm the “Ready to publish?” dialog.
- Watch the progress dialog while Studio generates the static pages.
- When it reports “Your project is live”, copy the link. The dialog also links the accessible version of your publication.
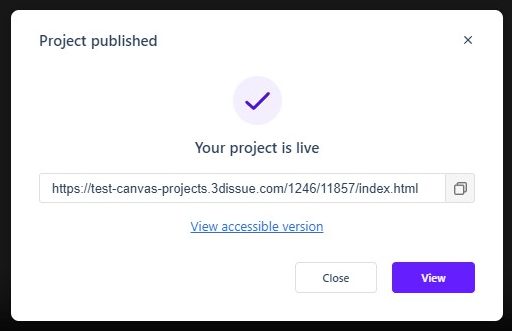
Checkpoint: open the link and read it like a reader before sharing it onward. The Published Link button in the top bar gives the same URL later.
Update it later
Edits after publishing do not change the live version. Publish again and Studio regenerates the static pages at the same link, so nothing you have shared breaks.
If it doesn’t work
- Imported pages do not look like the PDF. That is the conversion working as intended — each page becomes responsive, editable content rather than a facsimile of the print layout.
- The import skipped an image. Edit crop areas takes a fresh copy straight from the source PDF, and PDF reimport re-runs the conversion for a page that came out badly.
- You want a different contents menu, viewer behaviour or meta title. The cog in the top bar opens Project Settings Overview.
- The import does not finish. Conversion spends AI credits as it works, one per page, so once the meter shows the full total used there is nothing to draw on: the AI features wait for the next monthly refill.