

You’ll end up with a text element that looks like the level you meant and announces itself as that level to a screen reader.
You’ll need
- The project open in Studio, with the text element on the canvas.
- The element’s floating toolbar, where the Text Settings cog sits.
Every text element in Studio carries a Text Type that controls both its default look and its semantic meaning. Choosing the right type keeps your typography consistent and helps screen readers and search engines understand the structure of your page.

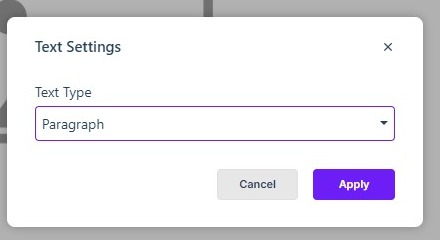
Changing the Text Type
- Select the text element on the canvas to reveal its floating toolbar.
- Click the Text Settings (cog) icon to open the Text Settings modal.
- Choose the element’s type from the Text Type dropdown: Paragraph, Heading 1, Heading 2, Heading 3, Heading 4, or Heading 5.
- Click Apply to update the element, or Cancel to leave it unchanged.
Choosing the Right Level
- Use Heading 1 for the main title of a page — there should normally be only one per page.
- Use Heading 2 for major sections, and Heading 3 to 5 for subsections beneath them.
- Use Paragraph for body copy. Every non-heading text block should be a paragraph.
Text Type vs. Accessibility Role
The Text Type sets the element’s default tag. If you need full manual control — for example, to style a small label as a Heading 6 — you can override the semantic tag at any time from the Accessibility menu of the Properties panel, which offers Paragraph and Heading 1 through Heading 6 (see Configuring Element Properties).
The Text Toolbar
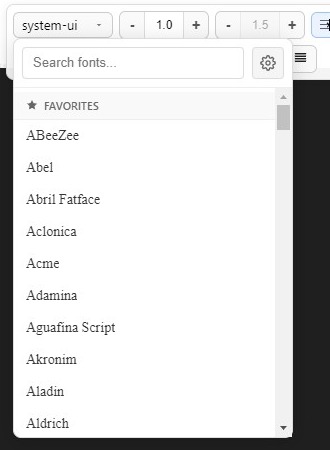
The floating text toolbar carries the everyday formatting controls: font family and font size (expressed as a percentage of the reader’s device default), line height, letter spacing, copy, undo/redo, select all, bold/italic/underline, remove formatting, alignment, insert link, text color, and text background color. The three-dots control at its far right reveals the additional controls — subscript/superscript, numbered and bulleted lists, decrease/increase indent, a table insert, and text transform (uppercase, capitalize, lowercase).
If it doesn’t work
- The heading looks right but announces the wrong level, or you need one the dropdown does not offer. Set the semantic tag on its own from Properties → Accessibility, which offers Paragraph and Heading 1 through Heading 6.
- Two Heading 1 elements on one page. A page should normally carry one; demote the others to Heading 2 so the structure reads in order.