

You’ll end up with a set of images the reader can swipe through on the page, opened from a single hotspot.
The Image Gallery tool groups a set of photos into a single swipeable slideshow — a product shot set, an event photo wall, a before-and-after sequence — without spending pages of the flipbook on them.
You’ll need
- The flipbook open in the editor, on the page the gallery opens from.
- The images for the gallery, ready to add one at a time in the dialog.
Adding a gallery
- Click Image Gallery on the toolbar.
- Draw a box where the gallery (or its button) should appear.
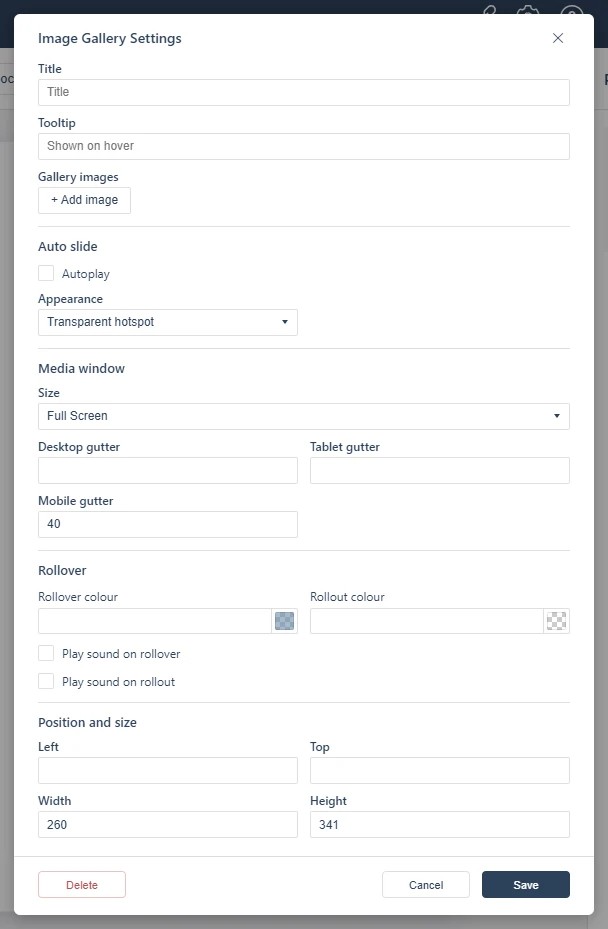
- In the dialog, give the gallery a title and click + Add image to bring images in; each image’s upload and details follow in that flow.
- Set the Auto-slide Frequency if the gallery should advance on its own, then save.
Appearance
The Appearance dropdown sets how the gallery presents on the page — Transparent hotspot by default, with the alternative presentations offered in the same dropdown.
Slideshow options
Auto-slide Frequency turns the gallery into a self-advancing slideshow at the interval you type; leave it alone to let readers swipe at their own pace.
For a single image with a link, place it in the PDF and let automatic detection handle it (see Adding a Web Link); galleries are worth it when there are several images to show. In Studio projects the equivalent element is covered in Working with Images, Galleries, and Logos.
If it doesn’t work
- Nothing appears on the page. These tools create hotspots, which are invisible unless hotspot markers are switched on — the area is clickable either way (see Linking to Another Page (Go To Page)).
- The gallery opens empty. A title alone saves a gallery with no images — each one has to be brought in with + Add image before saving.
- Nothing has changed on your live link. Edits reach readers only when you publish again — see Can I edit my flipbook after publishing?.