

You’ll end up with a language of your own in the Translations dialog, carrying your wording in place of the button and tooltip text.
You’ll need
- Your flipbook open in the Flipbooks Desktop software.
- The wording you want for each label you are replacing.
Create the language, then write the wording
- Click Options > Translations from the top file menu within the software.
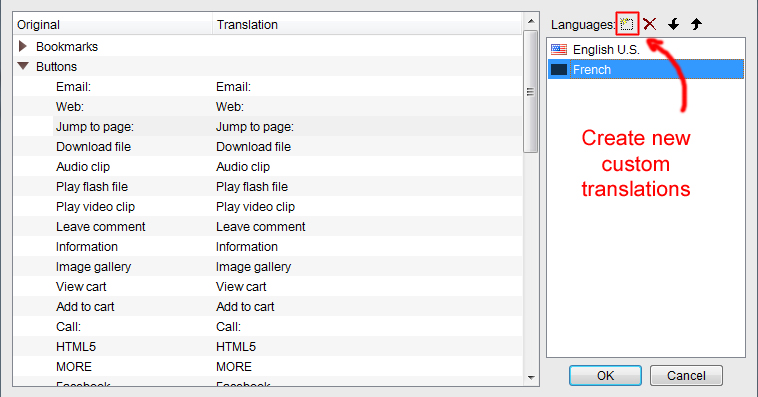
- In the popup window, click the add-language button to create a new language template.
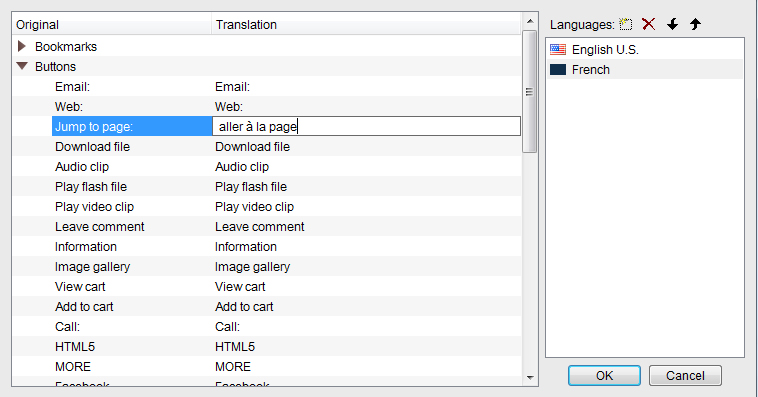
- Double-click the text under the Translation heading and type your own wording — aller à la page against Jump to page, as in the example below.
If it doesn’t work
- You added a language and nothing changed. Creating it only adds the template; each label changes when you double-click its translation and type your own text.
- You edited the wrong column. The original sits on the left as the reference — your text goes under Translation.
- The flipbook still shows the old wording. Build and upload again.