

You’ll end up with the new user in the account at the permission level you chose, holding an activation email to set their own password.
You’ll need
- An administrator account in Central, at
https://central.3dissue.com/auth/login?s=admin. - The new user’s name and email address, and the permission level they should get.
You can add new users to your account, view all existing users, and edit or remove user accounts and permissions from the 3D Issue Central account management application.
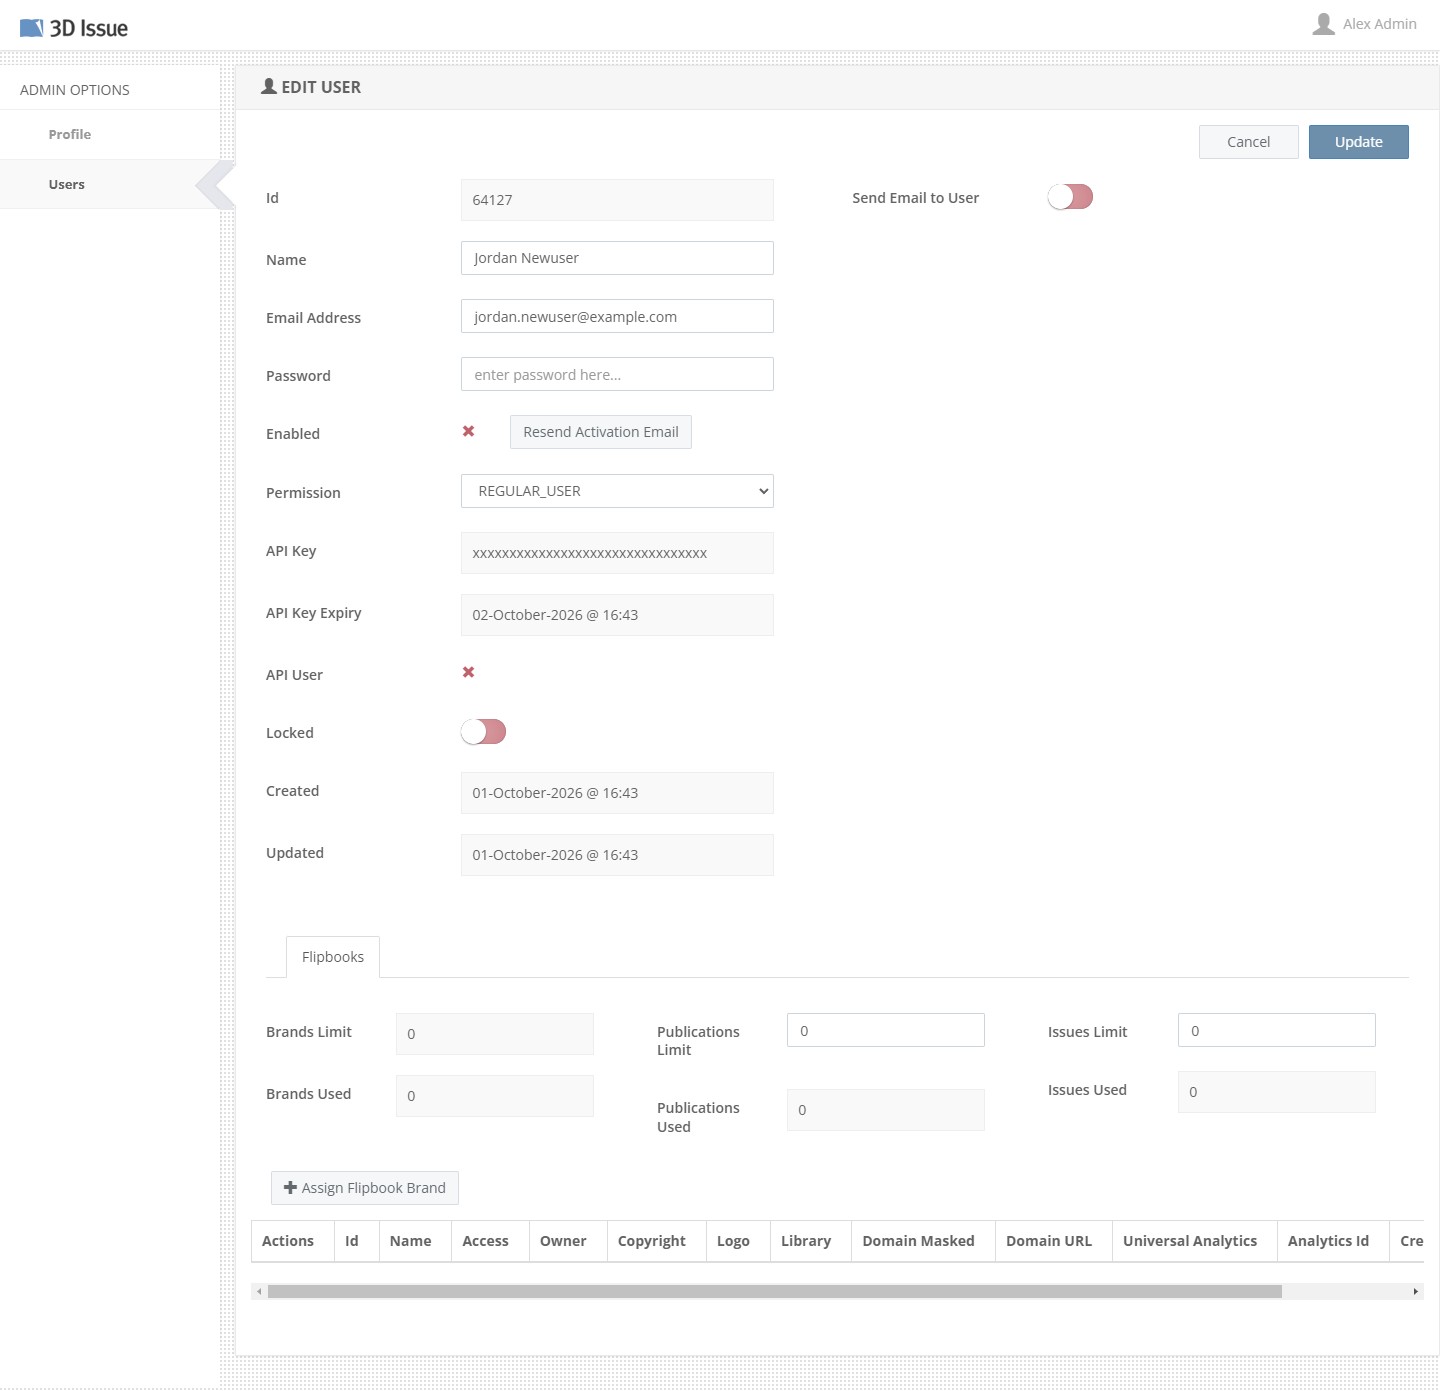

To add a new user:
- Log in to Central with an administrator account at
https://central.3dissue.com/auth/login?s=admin. - Click Users in the main menu on the left-hand side of the screen.
- Click Add User and enter the new user’s name and email address.
- Select the user’s permission level: Administrator, Regular User or Limited User.
- Click Save.
The permission levels are:
- Administrator: this user can manage all aspects of the account, including the creation of projects, users and brands, and the publishing of projects.
- Regular User: can create resources on each service your company has access to. They can also edit and delete resources that they have created. Regular users cannot access other user data or modify other user accounts.
- Limited User: must be granted access to your resources explicitly in the management area of central. Limited users can never create or delete resources, they may only edit.
The new user will be sent an activation email. The email contains a secure sign-in link to set the user’s password and complete their account setup.
To edit or remove a user:
- Click the three dots to the right of a user’s name, or click on the user’s name to open their details.
- You can now edit the user’s name, email address, and/or permission level. You can also remove a user by clicking Delete.
Managing users through the 3D Issue Dashboard
Users with an Administrator role in Central can also manage users in their Studio account.
- Go to Team in Studio.
- Click Add User to invite a new user to the account, or click the three dots menu next to an existing user to edit their role or remove them from the account.
If it doesn’t work
- The new user cannot create anything. That is the Limited User level working as intended: it can only edit, and must be granted access to your resources in Central’s management area.
- They never received the activation email. That message carries the secure sign-in link that sets their password, so check the address is the one they use before changing anything else.