

You’ll end up with a brand saved to the Studio account, ready to apply to the projects you create and to the ones you have already built.
You’ll need
- The Brands screen: Brands from the user menu, with the product selector at the top set to Studio.
- Your logos as PNG or SVG. Rectangular and square versions, plus inverted ones if you have them.
- Four brand colors as HEX values.
- A heading font and a paragraph font, either from Studio’s list or as a TTF, OTF, WOFF or WOFF2 file of your own.
Studio opens the wizard at your first login. Once the account holds a brand, start it from Create brand at the top of the Brands screen.
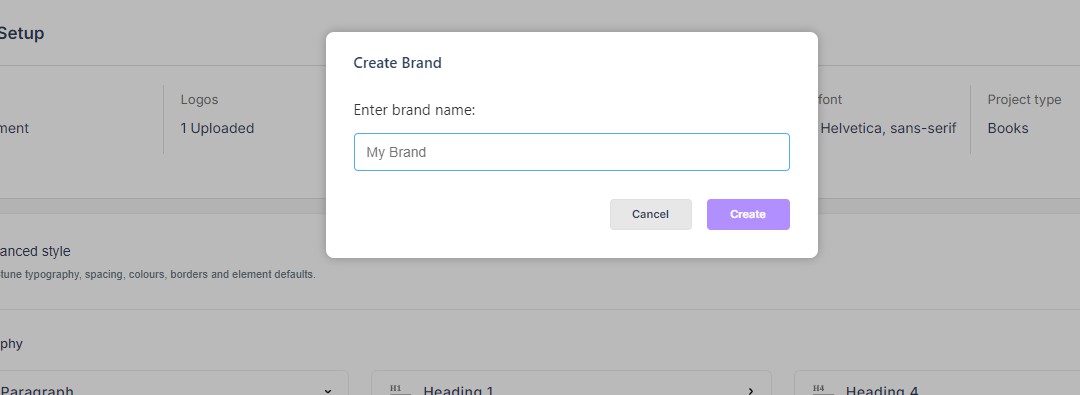
There are six steps. Each of the first five carries Next and Skip; the sixth carries Finish. The back arrow at the top left returns to the previous step, and the dots above the panel show how far you have come.
Name the brand
The first step asks What is the name of your brand? Type the name and click Next. That name is how the brand is listed in Studio, and how a project refers to it.

Choose the industry
The industry dropdown opens at None. Pick the one the brand belongs to, or leave it alone and click Skip.

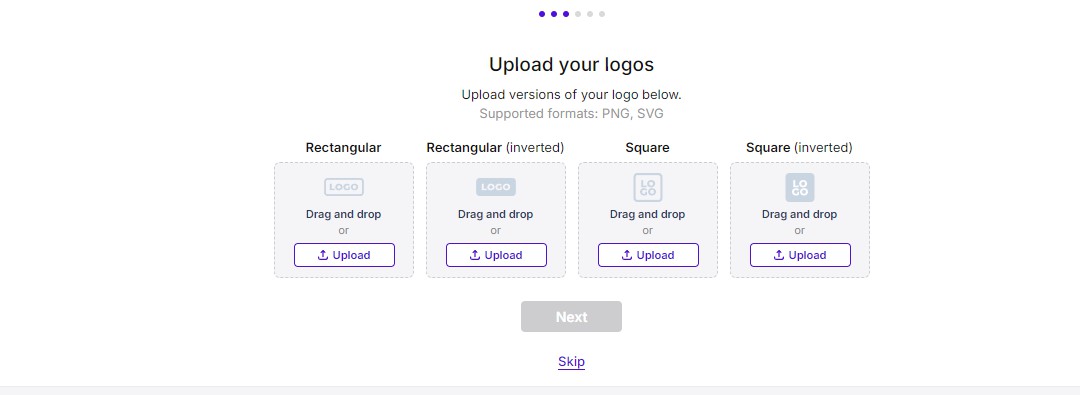
Upload the logos
Four slots, labeled by shape: Rectangular, Rectangular (inverted), Square and Square (inverted). PNG and SVG are accepted. Drag a file onto a slot, or use that slot’s own Upload button.
Next stays greyed out until a slot holds a file, but the step is not compulsory: Skip moves on with nothing uploaded. All four become the logos the Logo element offers on the canvas, so upload every variant you design with (see Working with Images, Galleries, and Logos).
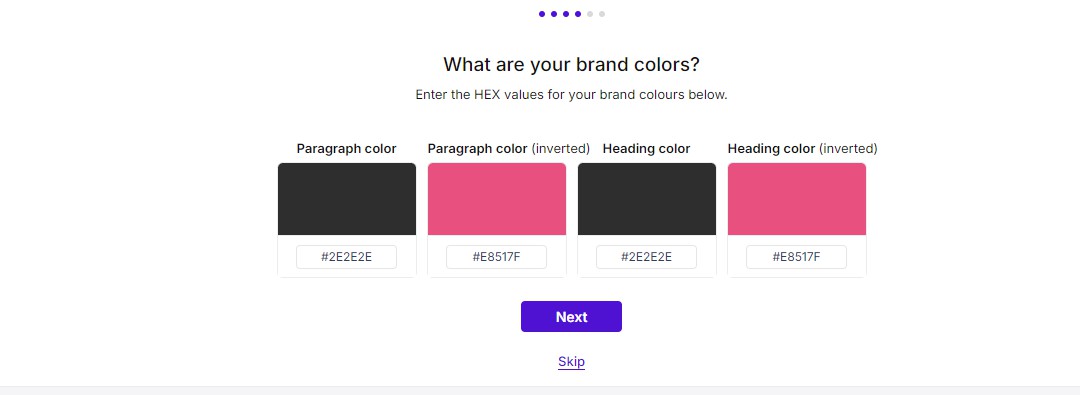
Set the colors
Four swatches, four HEX fields: Paragraph color, Paragraph color (inverted), Heading color and Heading color (inverted). Set each field to the HEX value your brand uses. The labels name the text each color dresses.
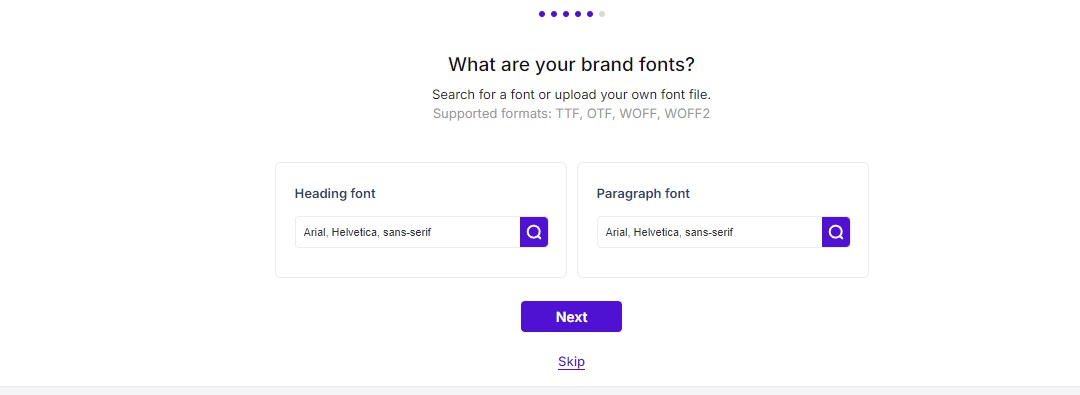
Pick the fonts
A Heading font and a Paragraph font. Type a font name into either field or use the search button beside it to pick from Studio’s list. Your own files can go in instead, as TTF, OTF, WOFF or WOFF2. Both fields start at Arial, Helvetica, sans-serif.
Choose the content type
The last step asks for the publication type, from a dropdown that also opens at None. Choose one and click Finish. The wizard closes and the brand is saved.

After Finish
The Brand Setup panel lists what you chose: Industry, Logos, Colors, Heading font, Body font and Project type. It calls the second font a body font where the wizard called it a paragraph font. Advanced style holds the rest of the design system, and Edit Brand reopens the brand for changes.
A step passed with Skip records nothing and stays at None. What the answers control, and how a brand reaches a project, is covered in Brands in Studio; the project itself starts in Creating a New Studio Project.
If it doesn’t work
- Next is greyed out on the logos step. Upload into any one of the four slots and it enables; Skip is the way past it without a logo.
- A font will not upload. Only TTF, OTF, WOFF and WOFF2 are accepted. Convert the file if yours is in another format.
- The brand shows None where you expected an industry or a content type. Both dropdowns start empty, so a step passed with Skip records nothing. Reopen the brand with Edit Brand and set it.