

You’ll end up with Flipbooks Desktop installed and a PDF imported as a Flipbook, previewed once and then built for uploading.
You’ll need
- The installer for your platform — PC or Mac — downloaded from the website.
- A PDF to import.
- Your login. A trial works without a license key; a purchased copy asks for the key that came in the purchase email.
Install it
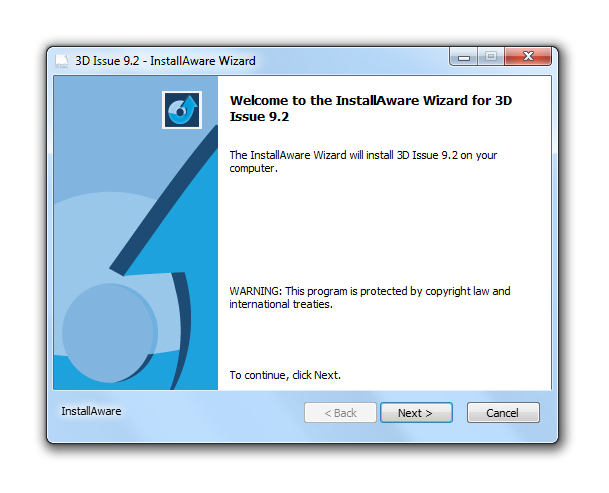
Windows. Run the downloaded .exe and accept the security prompt. Click Next, accept the terms, confirm the destination folder and program folder, then Finish. Pick English or Spanish at the language prompt, and sign in. The full sequence is in Install Flipbooks Desktop on Windows.
MacOS. Open the downloaded .dmg and accept the EULA if prompted, then drag the 3D Issue folder into Applications. Eject the installer so the app cannot run from it by accident, and launch Flipbooks from the 3D Issue folder in Applications. The full sequence is in Install Flipbooks Desktop on MacOS.
Either way, a purchased copy may ask for a license key after you log in — it is in the email you received when you bought the software. If it cannot be found, the team can be reached at support@3dissue.com.
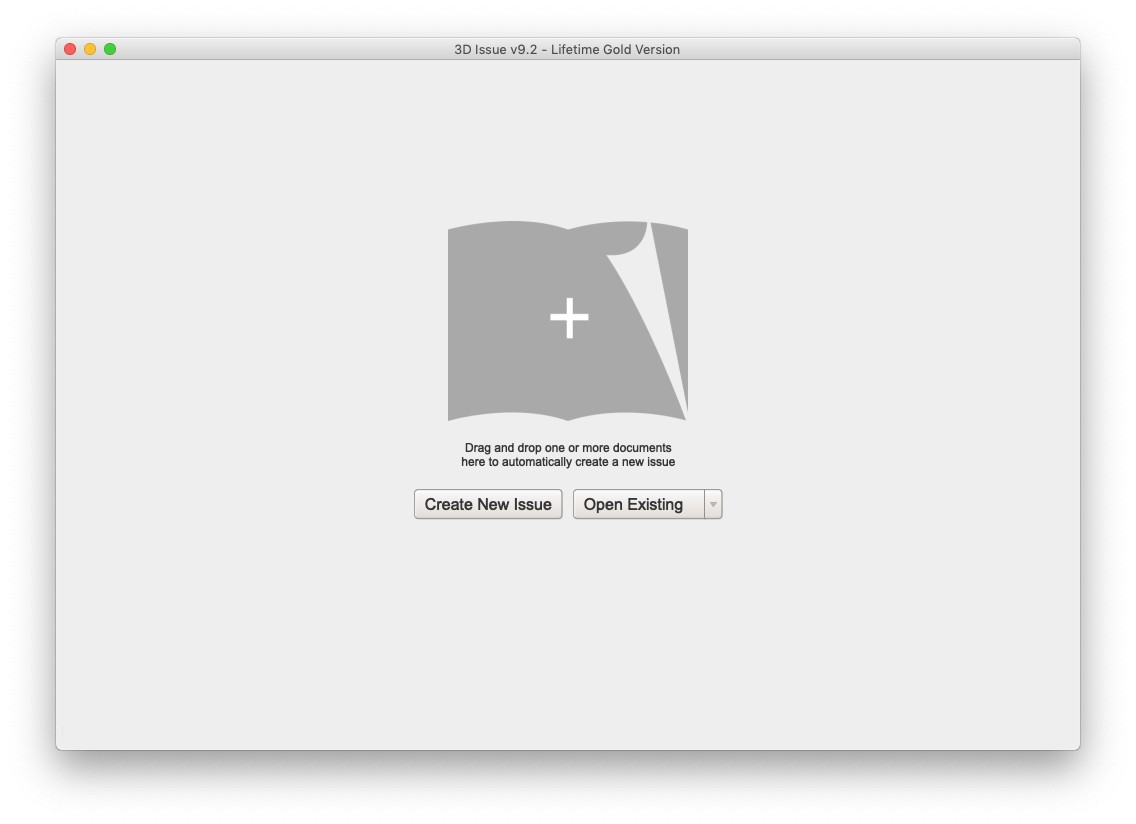
Checkpoint: the software opens ready to create a Flipbook, without asking again for a key.
Import your PDF
- Click Create New Issue, or drag a PDF onto the 3D Issue logo.
- Wait while the software imports it — depending on size and content, this may take a few minutes.
Set it up in three tabs
- Content: page ordering, adjustments for page bleed, and the SEO profile and templates you want to use.
- Design: the appearance and structure of the Flipbook, plus interactivity, the Highlighting tool, and Search.
- Output: output types and page quality, and the upload settings for FTP or 3D Issue Cloud hosting.
Checkpoint: the Output tab knows where the finished Flipbook is going — FTP details filled in, or Cloud hosting selected.
Preview, then build
- Click Preview. This builds the Flipbook but does not upload it, which makes it the right moment to check page order and quality.
- When it looks right, click Build to publish the Flipbook to the web.
To keep the project without building it, use File > Save.
When the same build should happen without you, HotFolder converts and uploads PDFs dropped into a folder: What is the ‘Auto-create and Publish’ feature?.
Checkpoint: the build finishes, and the output lands wherever the Output tab was pointed — the upload settings, not the build button, decide that (see Getting Started with Flipbooks Desktop (e-173)).
If it doesn’t work
- It asks for a license key and you cannot find it. The key was sent by email when the software was purchased; contact support@3dissue.com if it is missing.
- The Mac app will not start. Make sure the installer was ejected after copying, then launch Flipbooks from the 3D Issue folder in Applications rather than from the mounted image.
- The build succeeds but nothing appears online. Check the Output tab’s upload settings — FTP or 3D Issue Cloud hosting — and see Output Formats within 3D Issue Flipbooks Desktop Software for what each output type produces.
- It has to go on an intranet instead of the web. See Publishing Flipbooks to your Intranet.