

You’ll end up with a Flow edition you have walked page by page — order fixed, images recropped, text corrected, spacing tightened — so it reads properly on a phone instead of merely existing.
You’ll need
- A publication Flow has already converted, opened in the Flow editor.
- A phone-sized window to read the result in before you publish.
Flow’s automatic conversion is a strong starting point, but you can improve your mobile editions with a few minutes of refinement. The Flow editor is a simplified version of the Studio editor with the same core tools, so most of this will feel familiar if you are used to working with Studio.
The Editor at a Glance
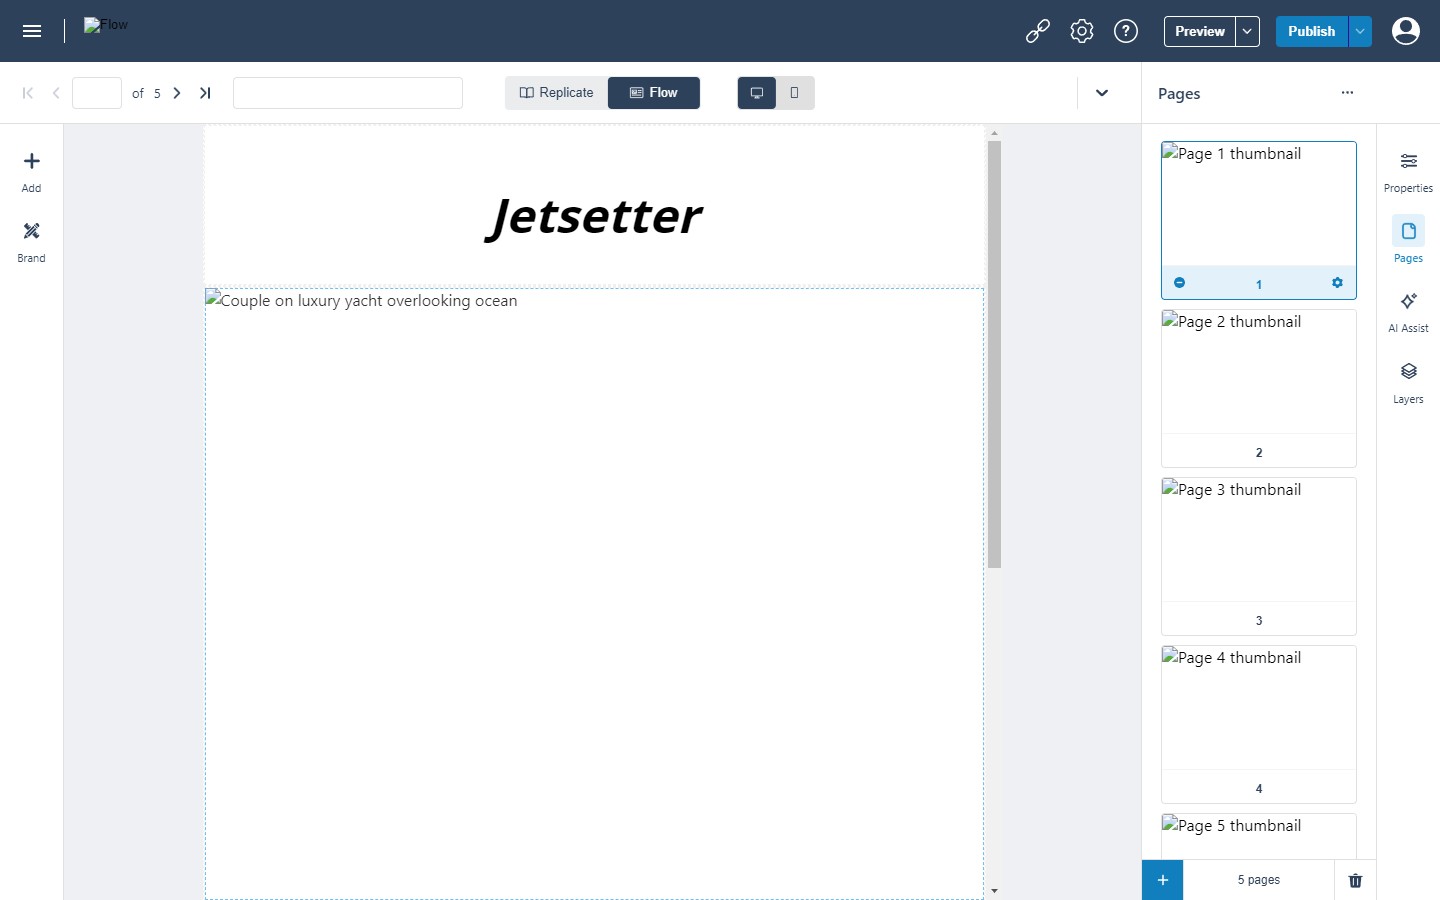
- Canvas — your publication, page by page, with Desktop and Mobile view toggles and page navigation. The toolbar above it carries Edit crop areas (recapture images from the source PDF), Reimport page, Check accessibility status (the
!marker shows when a page has findings), and Version history for reverting the Flow edition. - Brand panel — apply a brand to the whole document with Choose Brand and Apply, or restyle an element type document-wide (every paragraph, every heading) in one place. Brands are created and managed as in Managing Brands.
- Control Columns — Properties, Pages (see Managing the Pages Panel), AI Assist (see Creating Content with AI), and Layers on the right; the Add panel (elements, blocks, layouts, and Import from PDF) and the Brand rail on the left.
Fix the Reading Order
Multi-column designs, sidebars, pull quotes, floating captions, and overlapping elements can confuse the automatic order. Grab the element by its label and drag it up or down the page into its new position; group related content as you go and read each page top-to-bottom as a first-time reader would. The Layers panel lists the page’s structure (Basic/Advanced) and gives Flat, Indent, Duplicate, Hide, Save as Block, and Delete actions per element.
Fix the Images
- Crop — select the image on the canvas and click Crop in its label. Drag the bounds inwards to frame the shot and click OK to replace the image on the canvas with the cropped version.
- Resize — change the element’s Height under Properties → Size, then choose how the image sits inside the frame with Image Settings → Layout: Contain (whole image visible), Cover (frame filled, image kept proportional), Fill (frame filled, image stretched if needed), or Scale (image scaled to fit).
- Recapture — if an image imported badly, take it fresh from the source PDF with the Edit crop areas button above the canvas, or rebuild the page with Reimport page. In the tool, select the area (hold Shift for several at once), then either add it straight to the page or save it to the Media Library and swap it in with Replace.
- Delete — purely decorative images rarely earn their scroll depth in a responsive edition. Remove them and let the content breathe.

Fix the Text
Text extracted by OCR arrives fully editable — click any text element and correct it as you would in Studio (see Setting the Text Type (Heading Levels) for the hierarchy controls). If every paragraph is the wrong size, restyle the Paragraph type document-wide in the Brand panel instead of fixing each one: set the font, size, and spacing once, and every paragraph follows.
Tighten Spacing and Scroll
Margins and padding are set per element from Properties (see Configuring Element Properties); the Indent / Spacing button on the element’s label handles quick spacing without opening Properties. Then cut scroll depth: break long paragraphs, add subheadings, and remove repetitive content so every screen earns its place.
Expect to Edit the Cover
Cover pages are built for impact, not structure — full-page background images, layered typography, text baked into images — so they convert far less cleanly than internal pages. Give the cover its own editing pass rather than judging Flow by it.
A Working Order
- Structure first. Fix the reading order: drag element labels until each page reads top to bottom as a first-time reader would.
- Then the images. Crop, resize or recapture what the conversion placed badly, and remove purely decorative images.
- Then the text. Correct the OCR text, and restyle the Paragraph type document-wide if every paragraph is the wrong size.
- Then the spacing. Tighten margins and padding, break long paragraphs and add subheadings so every screen earns its place.
- Finish in a phone-sized window. Read the edition through before publishing (see Publishing a Flow Publication).
If it doesn’t work
- The cover still looks wrong. Cover pages are built for impact, not structure, and convert less cleanly than internal pages — give the cover its own pass rather than judging Flow by it.
- Every paragraph is the wrong size. Restyle the Paragraph type document-wide in the Brand panel instead of fixing each element.
- An image imported badly. Take it fresh from the source PDF with Edit crop areas, or rebuild the page with Reimport page.