The project’s settings live in the Project panel, which opens from the cog in the editor toolbar. They are arranged as four tabs — Menu, SEO/SEM, Viewer Settings and Advanced — covering a publication’s navigation, search appearance, reader experience and custom code.
Menu Configuration
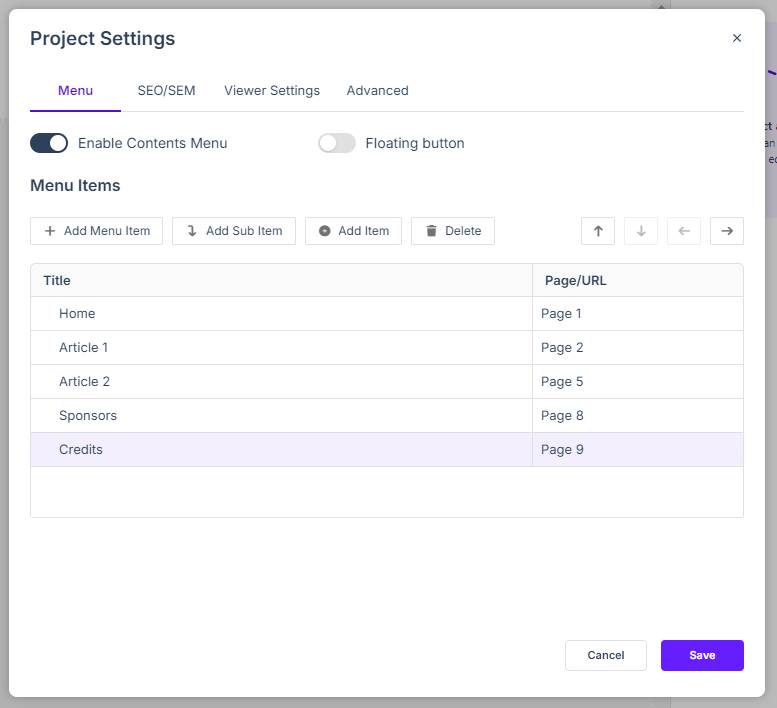
The Menu tab is where you build the navigation structure for the project.
- Toggle switches allow you to enable or disable a Contents Menu for your publication. The Floating option, when enabled, will present your menu as a floating, rather than fixed, menu (when using a fixed menu, you must go into Viewer Settings and select Top for the Menu Type). The element that builds a contents menu is in Adding a Contents Menu.
- Use the Add Menu Item and Add Sub Item buttons to build your hierarchy, linking each item to a specific Page/URL.
- Use the Add Item button to add items to submenus.
- Directional arrows and a Delete button let you easily rearrange or remove existing items. Up and Down arrows allow you to reorder items within the menu level they currently occupy. Left and Right arrows let you move items between different menu levels.
SEO/SEM and Tracking
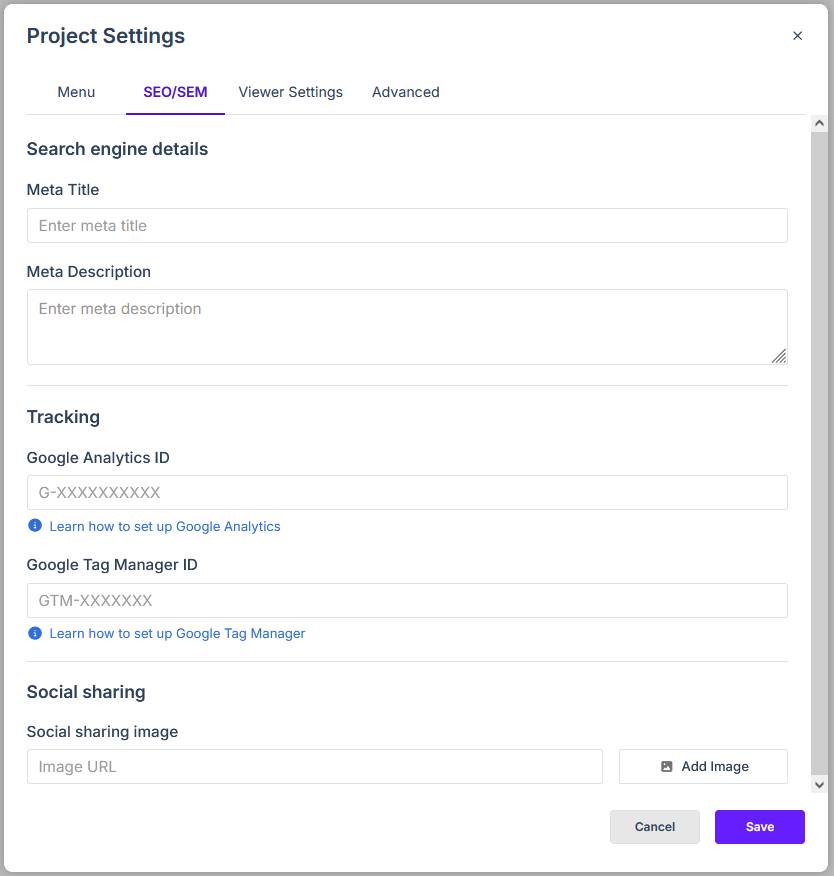
The SEO/SEM tab controls how your project appears in search engines and integrates with Google Analytics and Google Tag Manager.
- Enter your primary Meta title and Meta Description at the top of the panel. These will be used by search engines when presenting your page as a result.
- Under the Tracking section, input your Google Analytics ID and Google Tag Manager ID to monitor reader engagement.
- Use the Social sharing section to upload a specific image that will display when the project is shared on social media platforms.
Viewer Settings
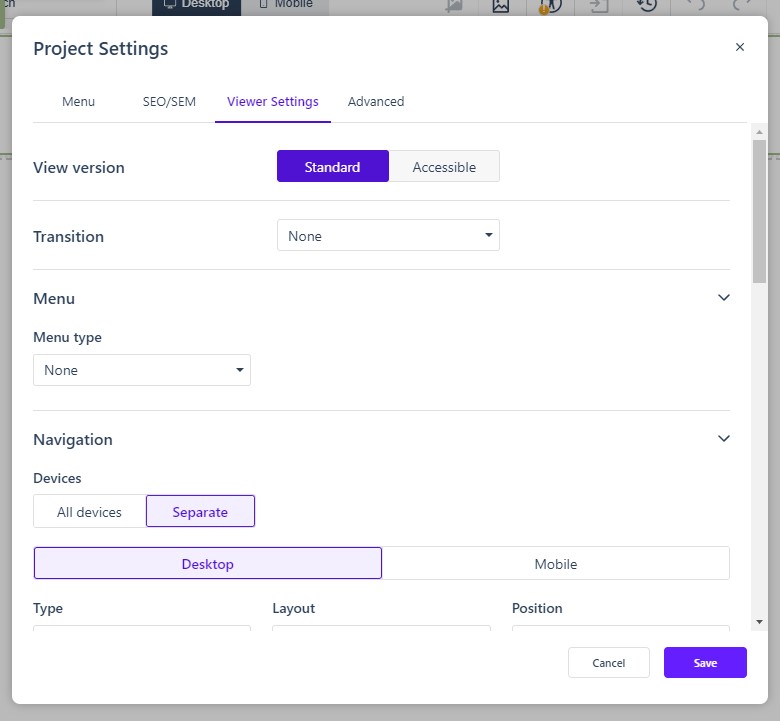
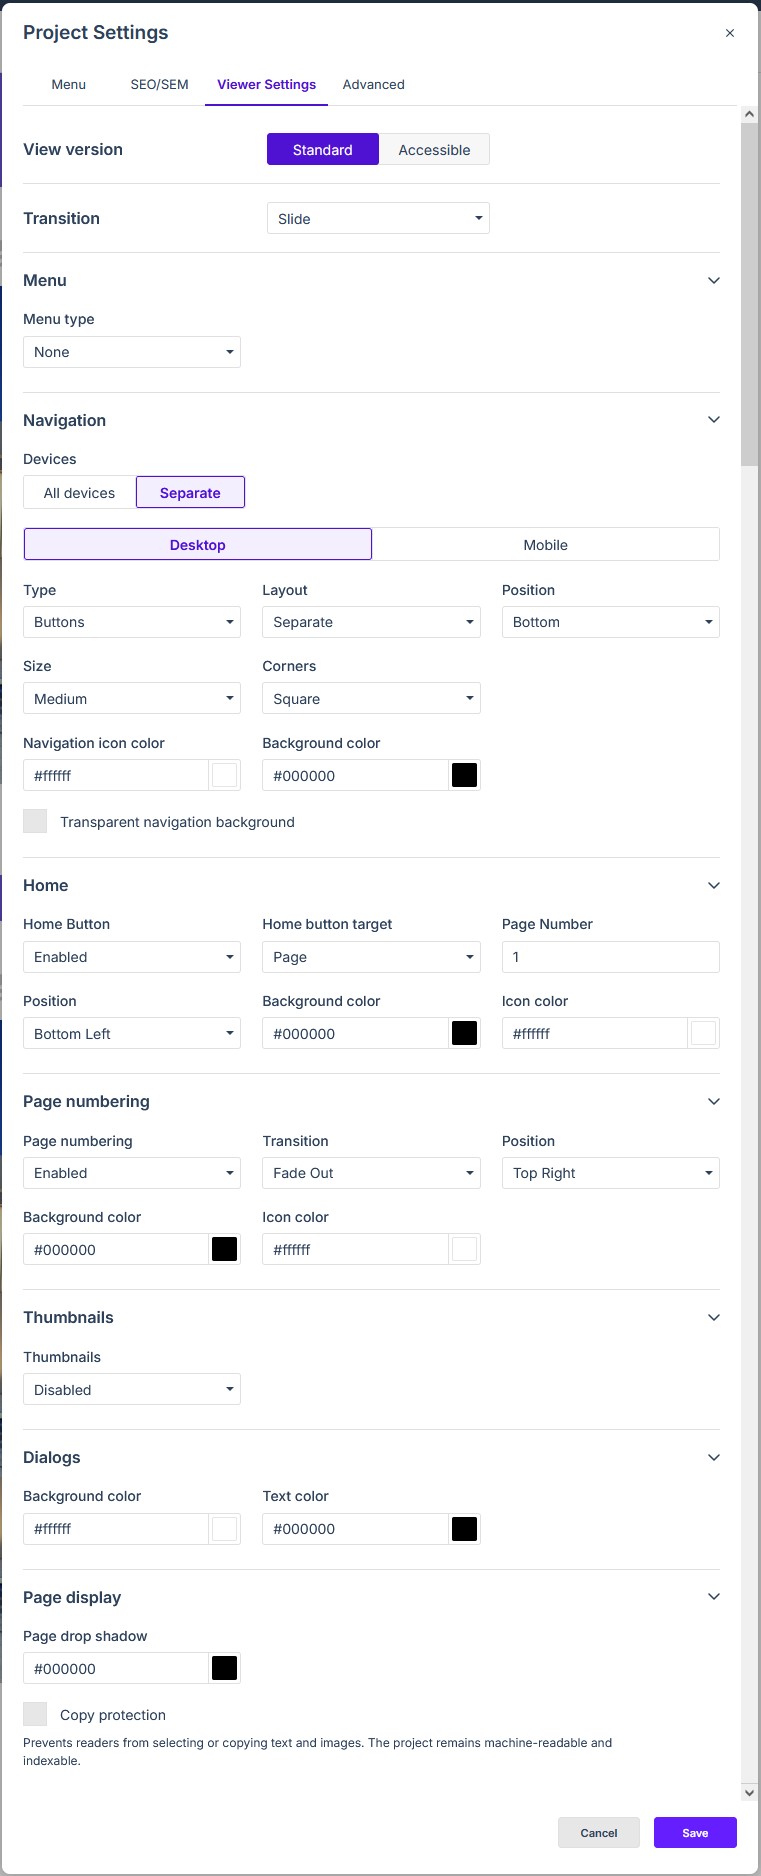
The Viewer Settings tab controls how a published project is presented to a reader.
Viewer Settings can be independently configured for Standard and Accessible viewing modes, as well as for different device types. Options for each can be selected using the relevant toggle switches from the panel.
- Transition: Select the default page Transition when a user navigates between pages in your publication (page transitions are disabled in Accessible mode).
- Menu: Select the default page Menu type (Top Menu or None. Top Menu must be enabled to see the menu if Floating button is not selected in Menu Settings).
- Navigation: Apply navigation settings globally to All devices or configure Desktop and Mobile environments separately. You can customize the button type, layout, position, size, corner styling, and colors for both icons and backgrounds.
- Interface Elements: Enable and style a dedicated Home Button and custom Page numbering. You can also enable and position a Thumbnails drawer, providing an additional method for users to navigate your publication.
- Styling and Protection: Define background and text colors for Dialogs, and set a specific color for the Page drop shadow. Enabling Copy protection prevents readers from manually selecting or copying text and images, though the content remains machine-readable and indexable.
Advanced Settings
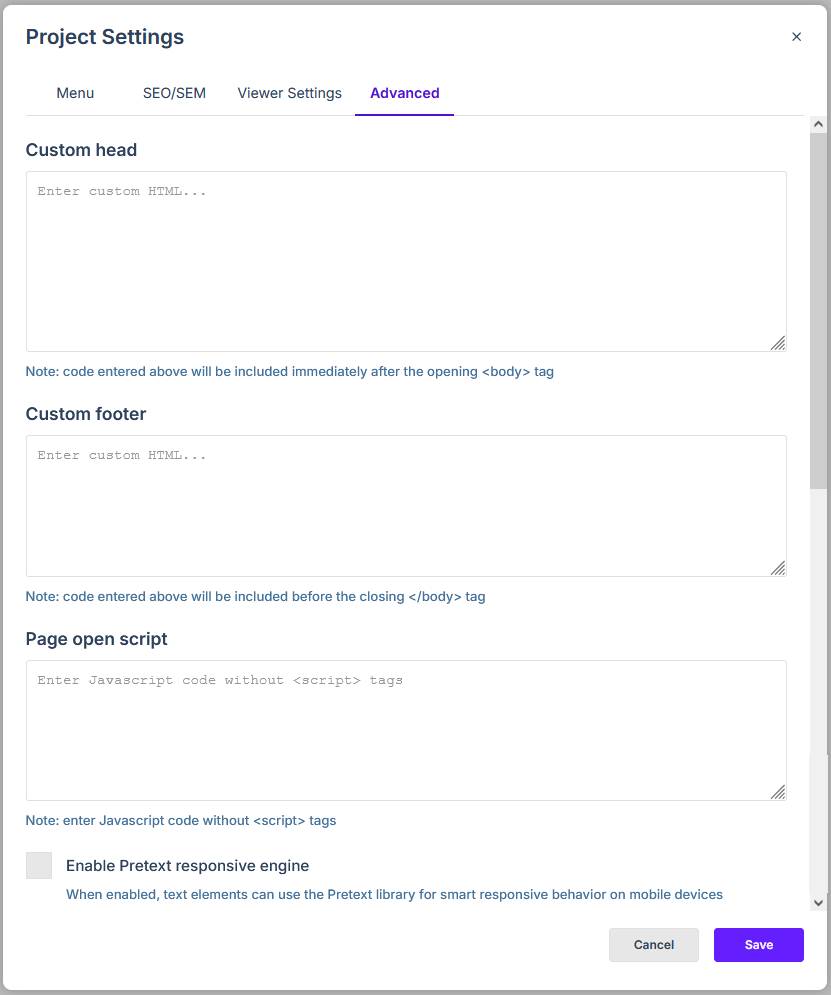
The Advanced tab is used for custom code insertion and responsive text behaviors.
- Custom HTML: Use the Custom head and Custom footer text areas to inject HTML. Code entered in the head box is placed immediately after the opening
<body>tag, while footer code is placed before the closing</body>tag. - Page open script: Enter custom JavaScript code here to execute upon page load. Ensure this code is entered without
<script>tags. - Pretext Responsive Engine: Check the box to Enable Pretext responsive engine, which lets text elements use the Pretext library to lay out text on mobile screens.